


Half the fun of Easter (besides the chocolate) is getting stuck into some good old-fashioned crafts with the kids. And nothing says Easter quite like a homemade bonnet covered in chicks, bunnies, flowers… and maybe a few rogue pom-poms glued to the kitchen table.
If you’ve got a school parade coming up, or you just fancy a fun afternoon keeping the kids busy (and away from the telly), these Easter bonnet ideas are super simple, super cute, and won’t require a degree in Pinterest perfection. Most of them just need bits you’ve probably already got lying around in the craft box or can pick up in a quick trip to the shops.
So grab the glue sticks, clear the table, and prepare to get a little bit messy. These are the kind of memories your kids will remember (even if your floor never recovers from the glitter). Let’s get making!
Easter bonnet ideas and themes 2025
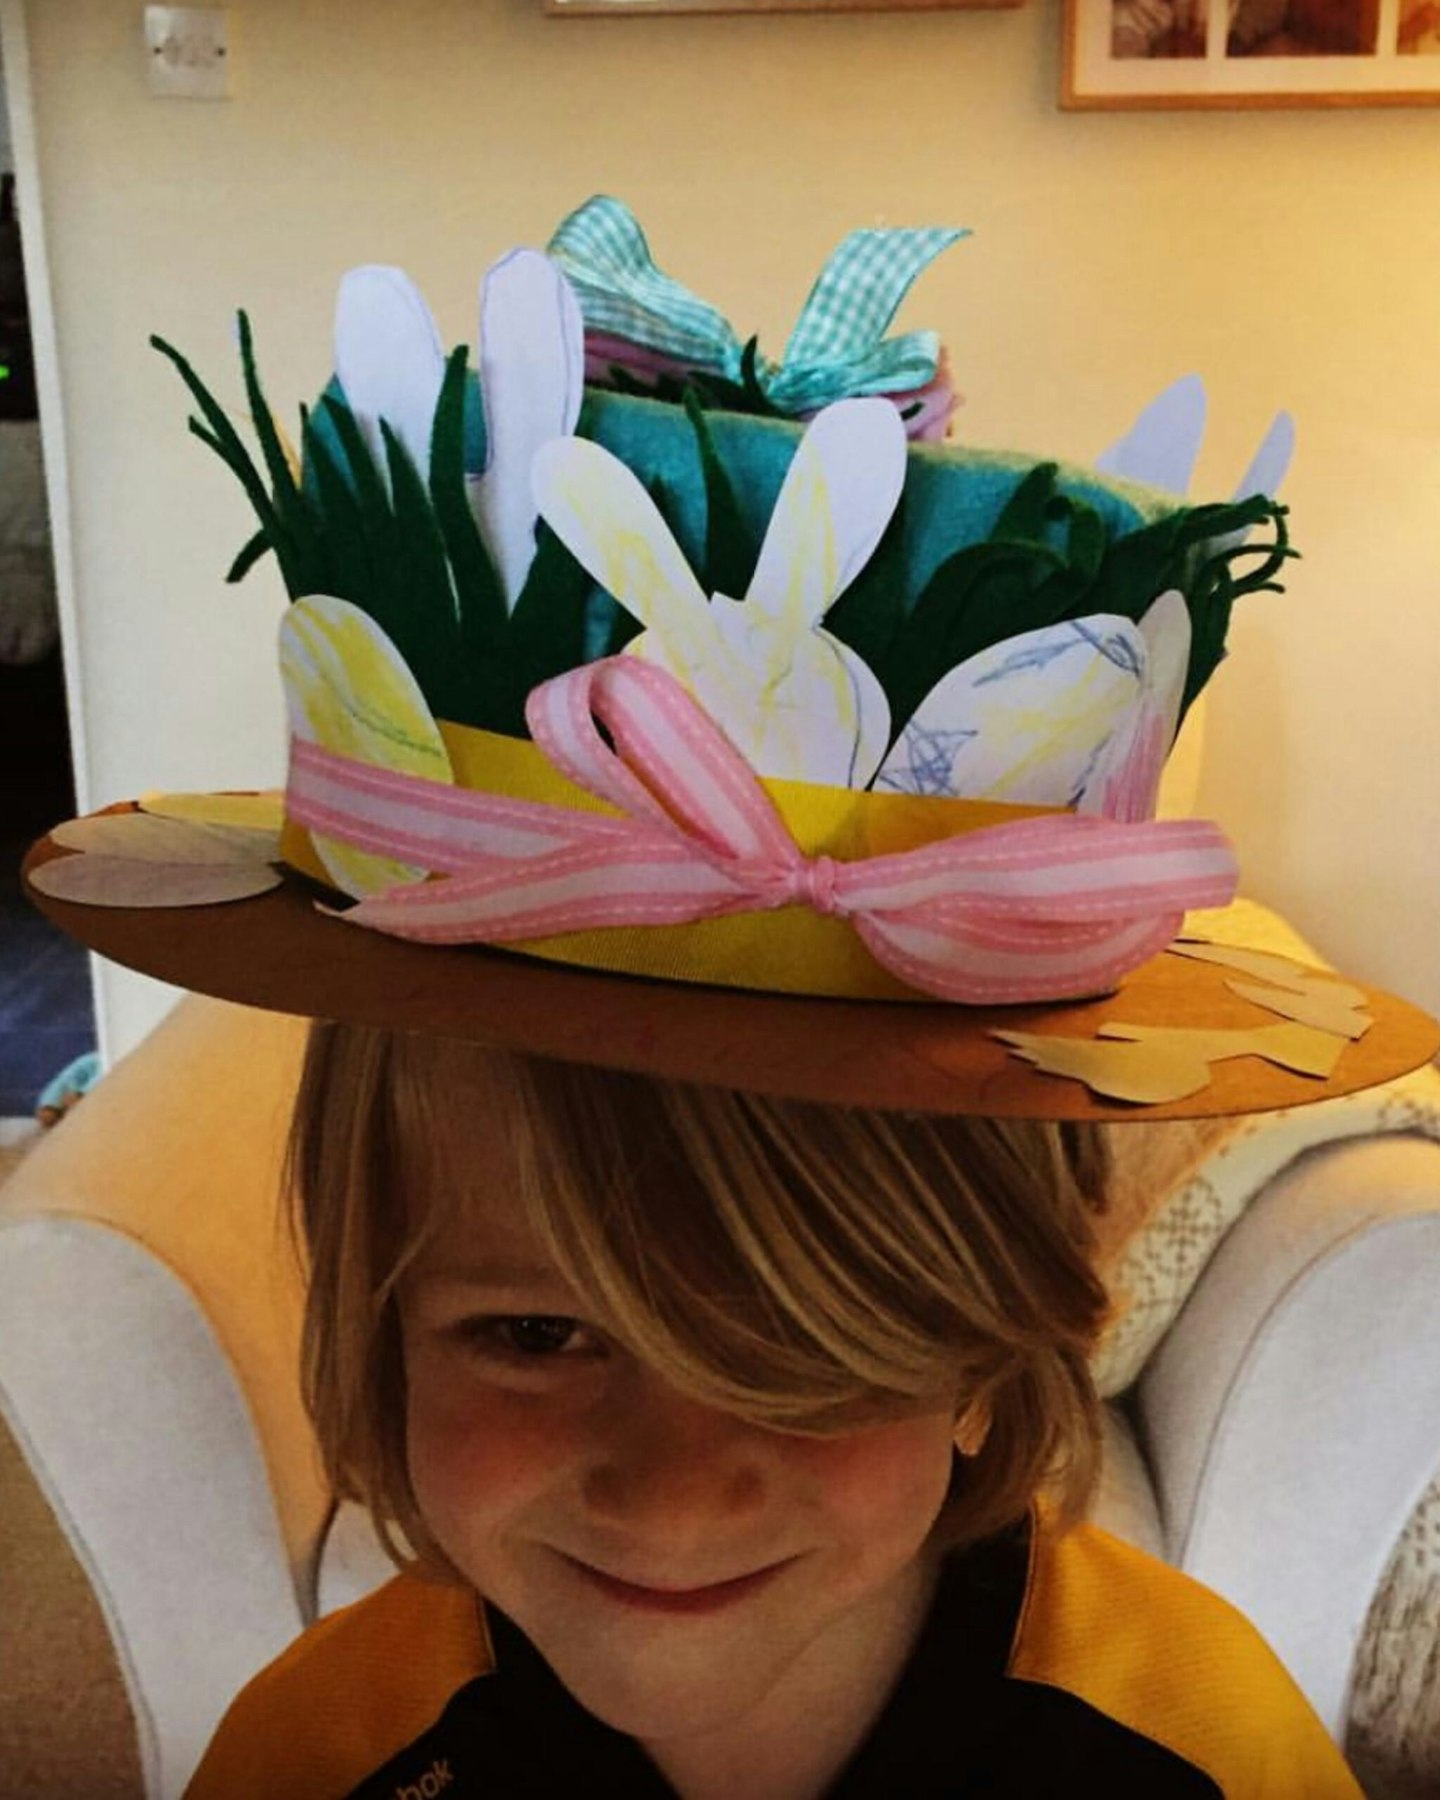
Easter Egg Hat
Materials:
-
Old cardboard boxes
-
Felt (green for grass, and any other colours for decoration)
-
Scissors
-
Tape
-
Markers (for drawing designs)
-
Glue
How to Make:
-
Cut a long rectangle from the cardboard to form the outside of the hat, then cut a circle for the top. Tape these together.
-
Cut a larger circle for the brim, then draw around the edge of the hat to create a hole in the middle.
-
Tape the brim to the hat, then cover the whole hat with felt.
-
Cut felt into grass shapes to decorate the brim, then glue it all into place.
-
Add fun decorations like Easter eggs, bunnies, flowers, and even a little city scene to bring the bonnet to life.
Our mum writer, Rebecca Lancaster shares, "It wasn't the easiest, but it only took a couple of hours, and it's lasted the whole of his time at Primary school, coming out every year to be transformed in some way!"
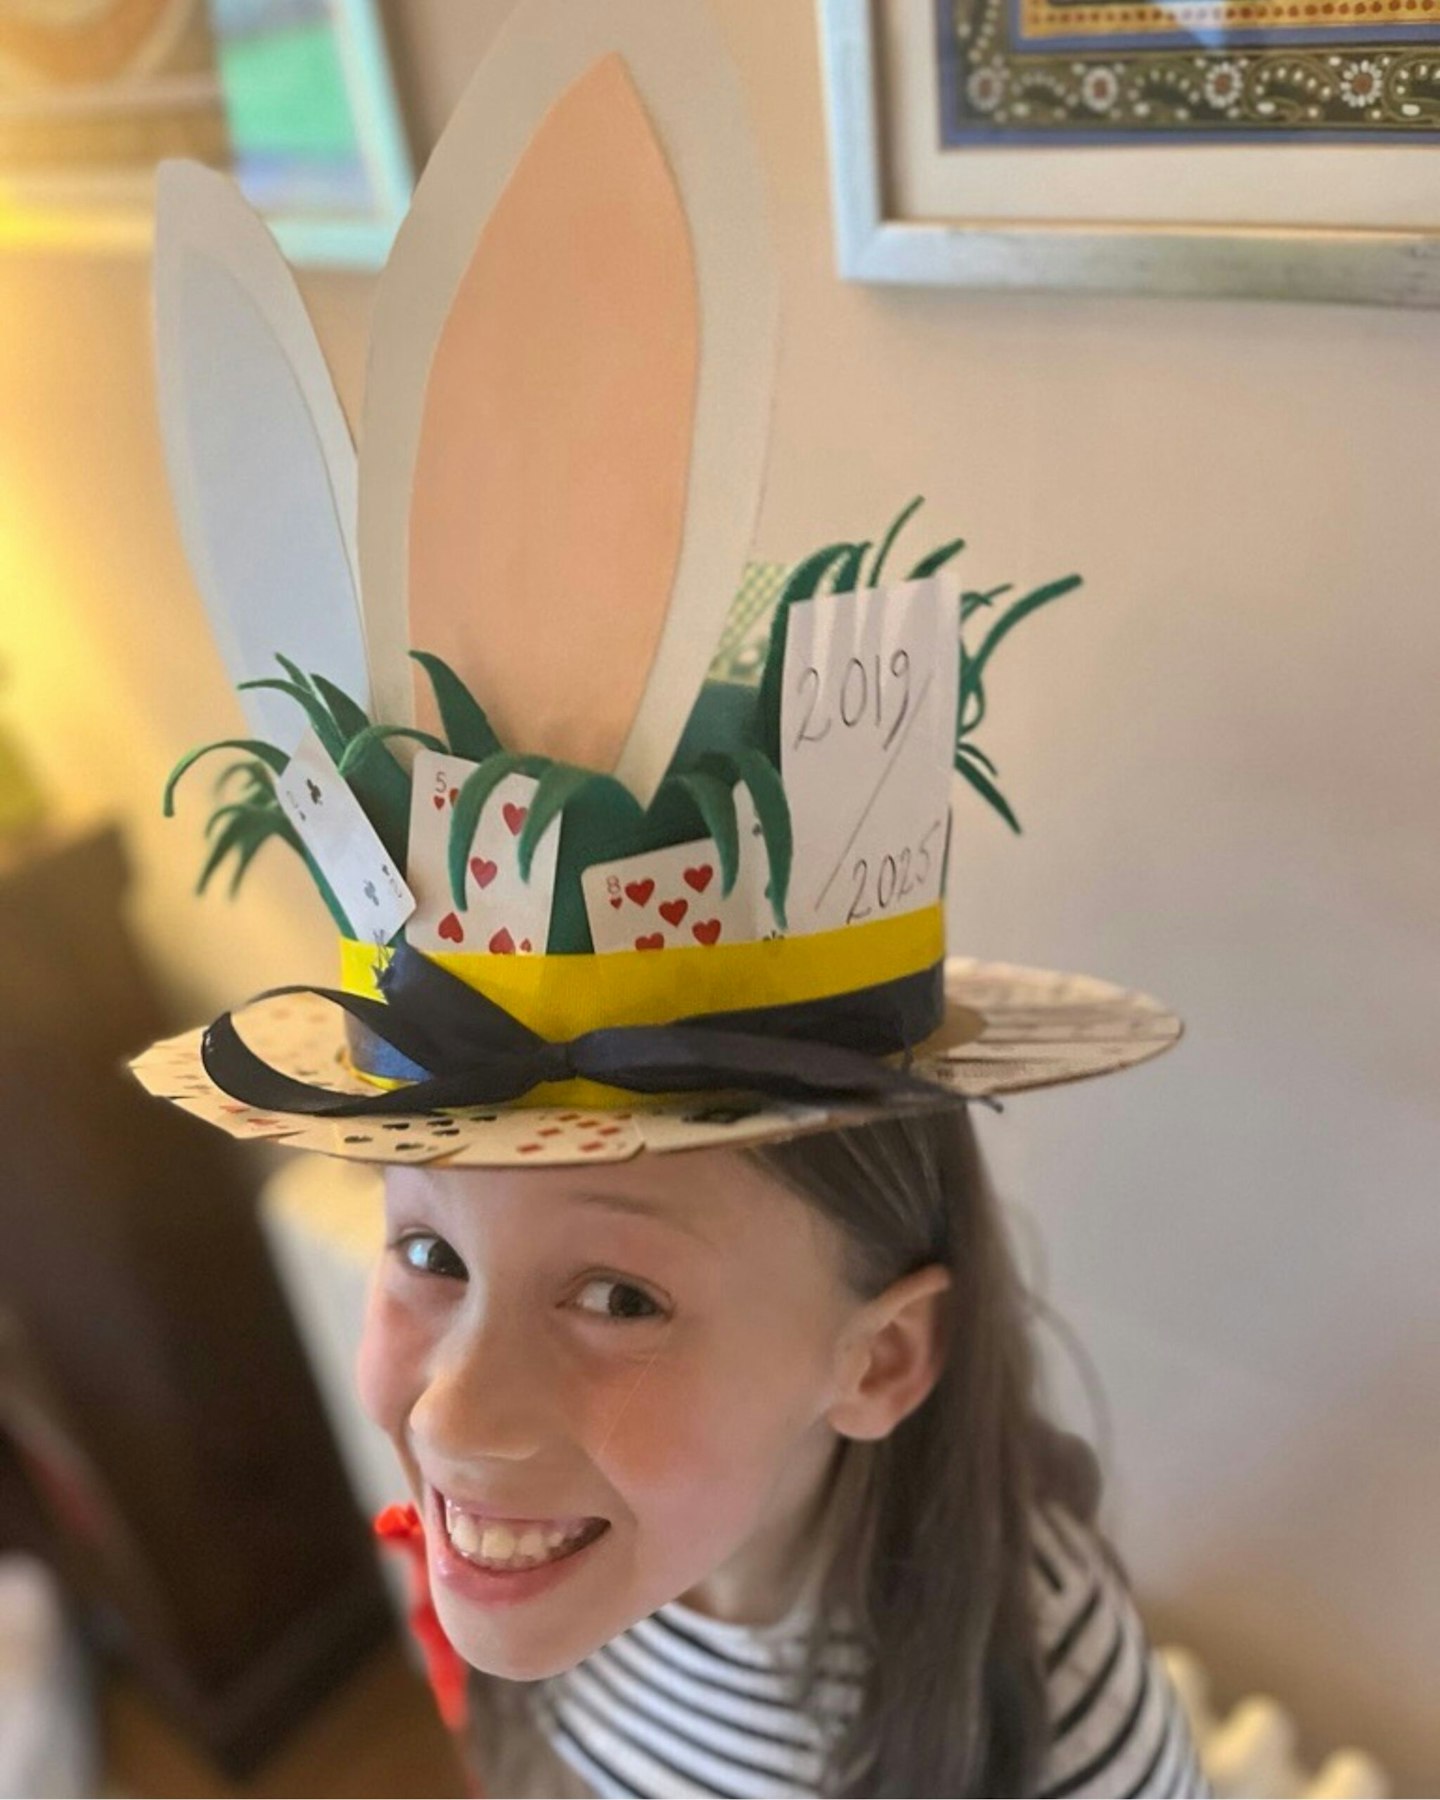
Alice in Wonderland Mad Hatter Hat
Materials:
-
Old Easter bonnet (from 2019!)
-
Small playing cards
-
Scissors
-
Cardboard (for the bunny ears)
-
Glue
How to make:
-
Start by reusing the old bonnet from last year, turning it into an Alice in Wonderland/Mad Hatter theme.
-
Glue small playing cards to the brim and tuck a few into the band for a whimsical touch.
-
Cut bunny ears out of cardboard and glue them to the hat.
-
Optionally, add a few extra fun details like ribbon or a little “tea party” charm!
Rebecca adds, "All in all, it took about an hour, and I was able to just use materials we had in the craft box."
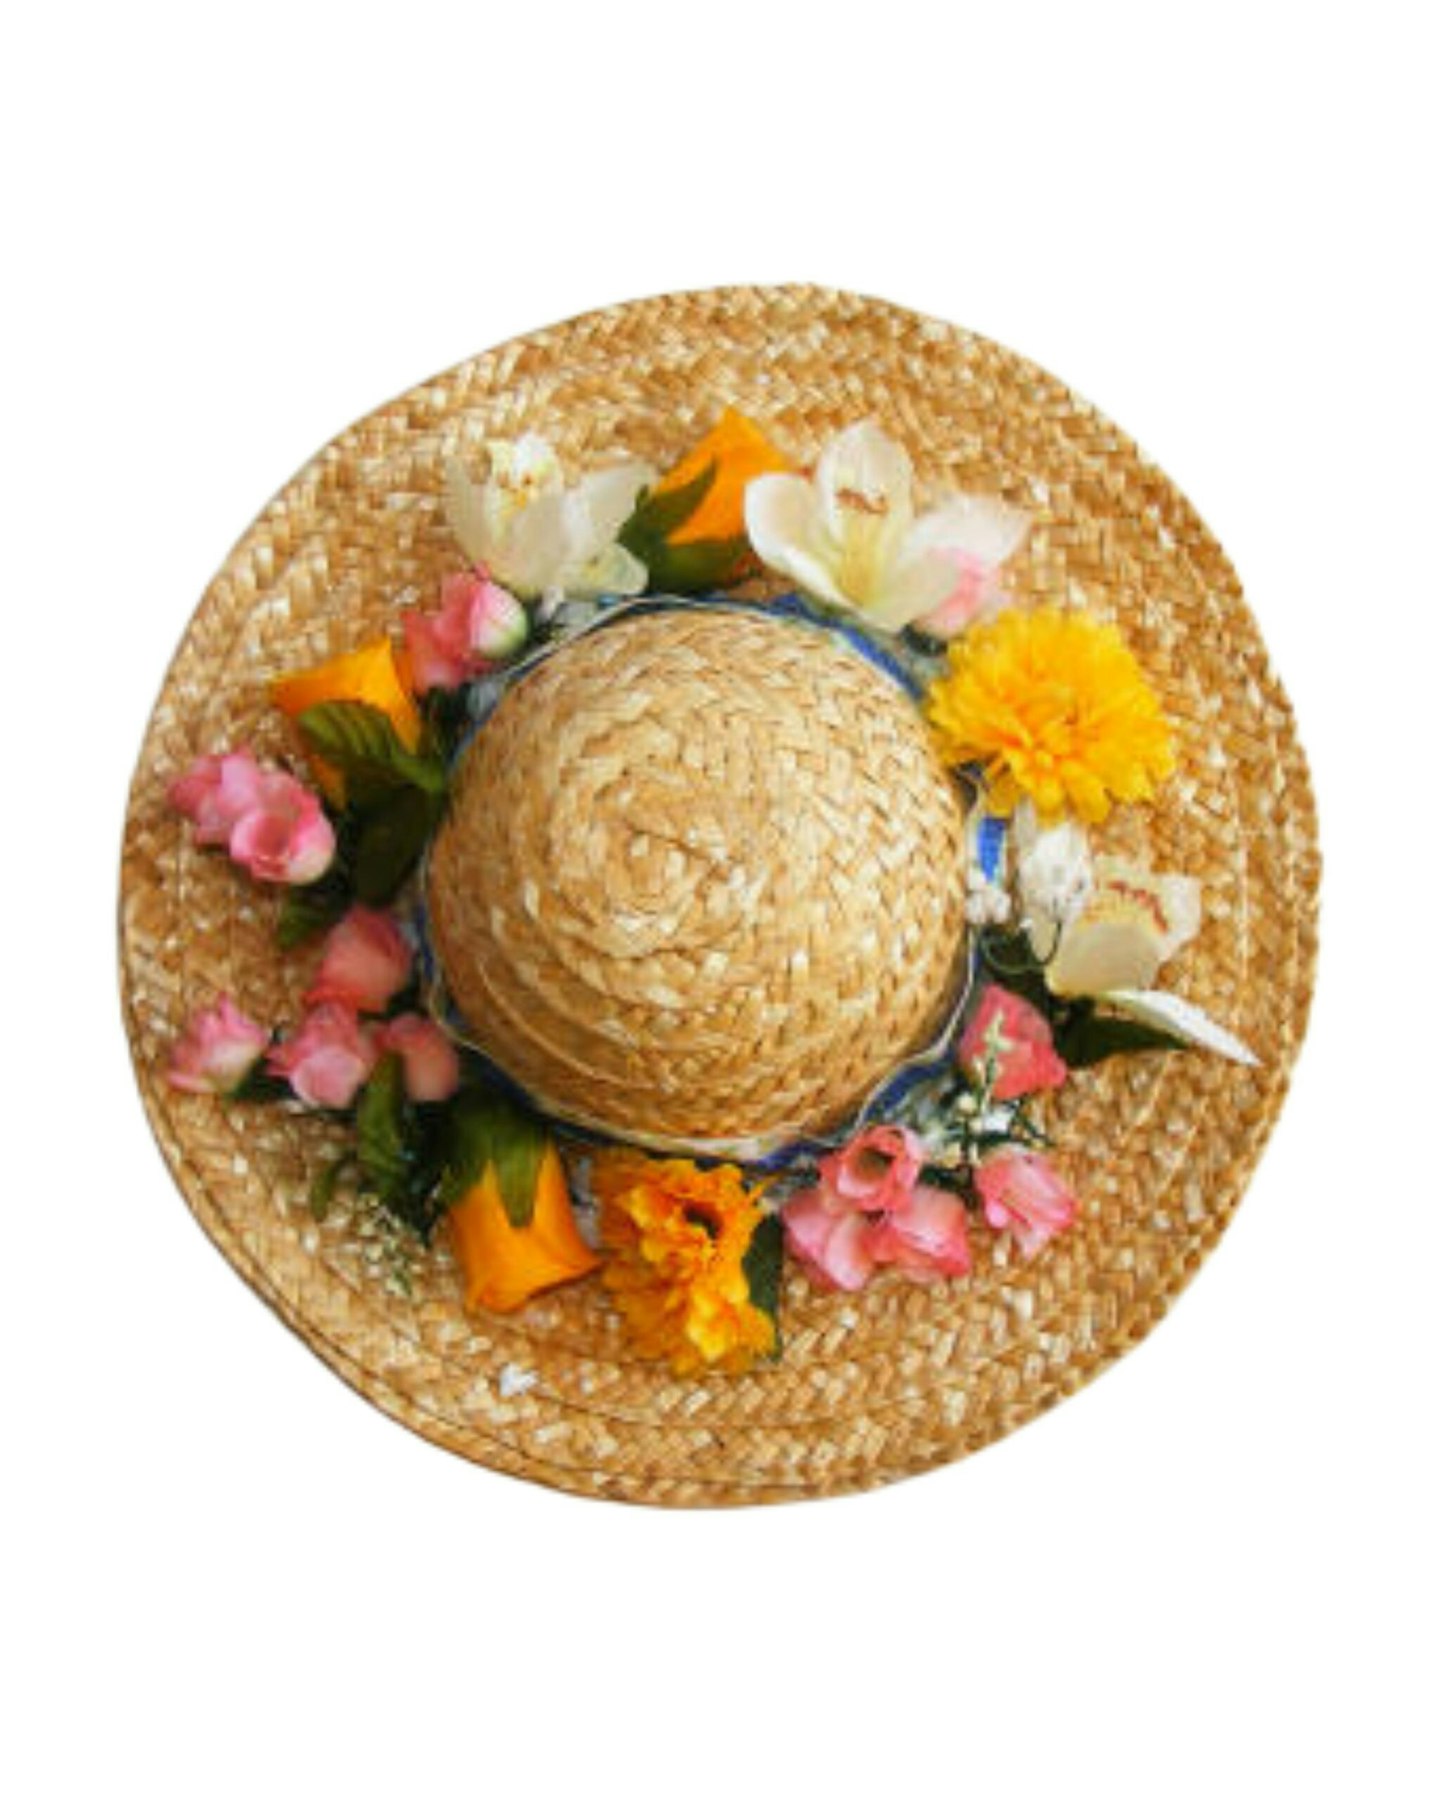
Floral Hat
Materials:
-
Plain straw or fabric hat
-
Assorted artificial flowers (e.g., daisies, tulips, roses)
-
Green felt or faux leaves
-
Hot glue gun or craft glue
-
Pastel-coloured ribbons
How to make:
-
Begin by arranging the artificial flowers around the brim of the hat.
-
Use the glue to secure each flower in place, mixing colors and sizes for a natural look.
-
Cut leaf shapes from green felt and glue them among the flowers to add greenery.
-
Tie a pastel-coloured ribbon around the base of the hat's crown, finishing with a bow at the back.
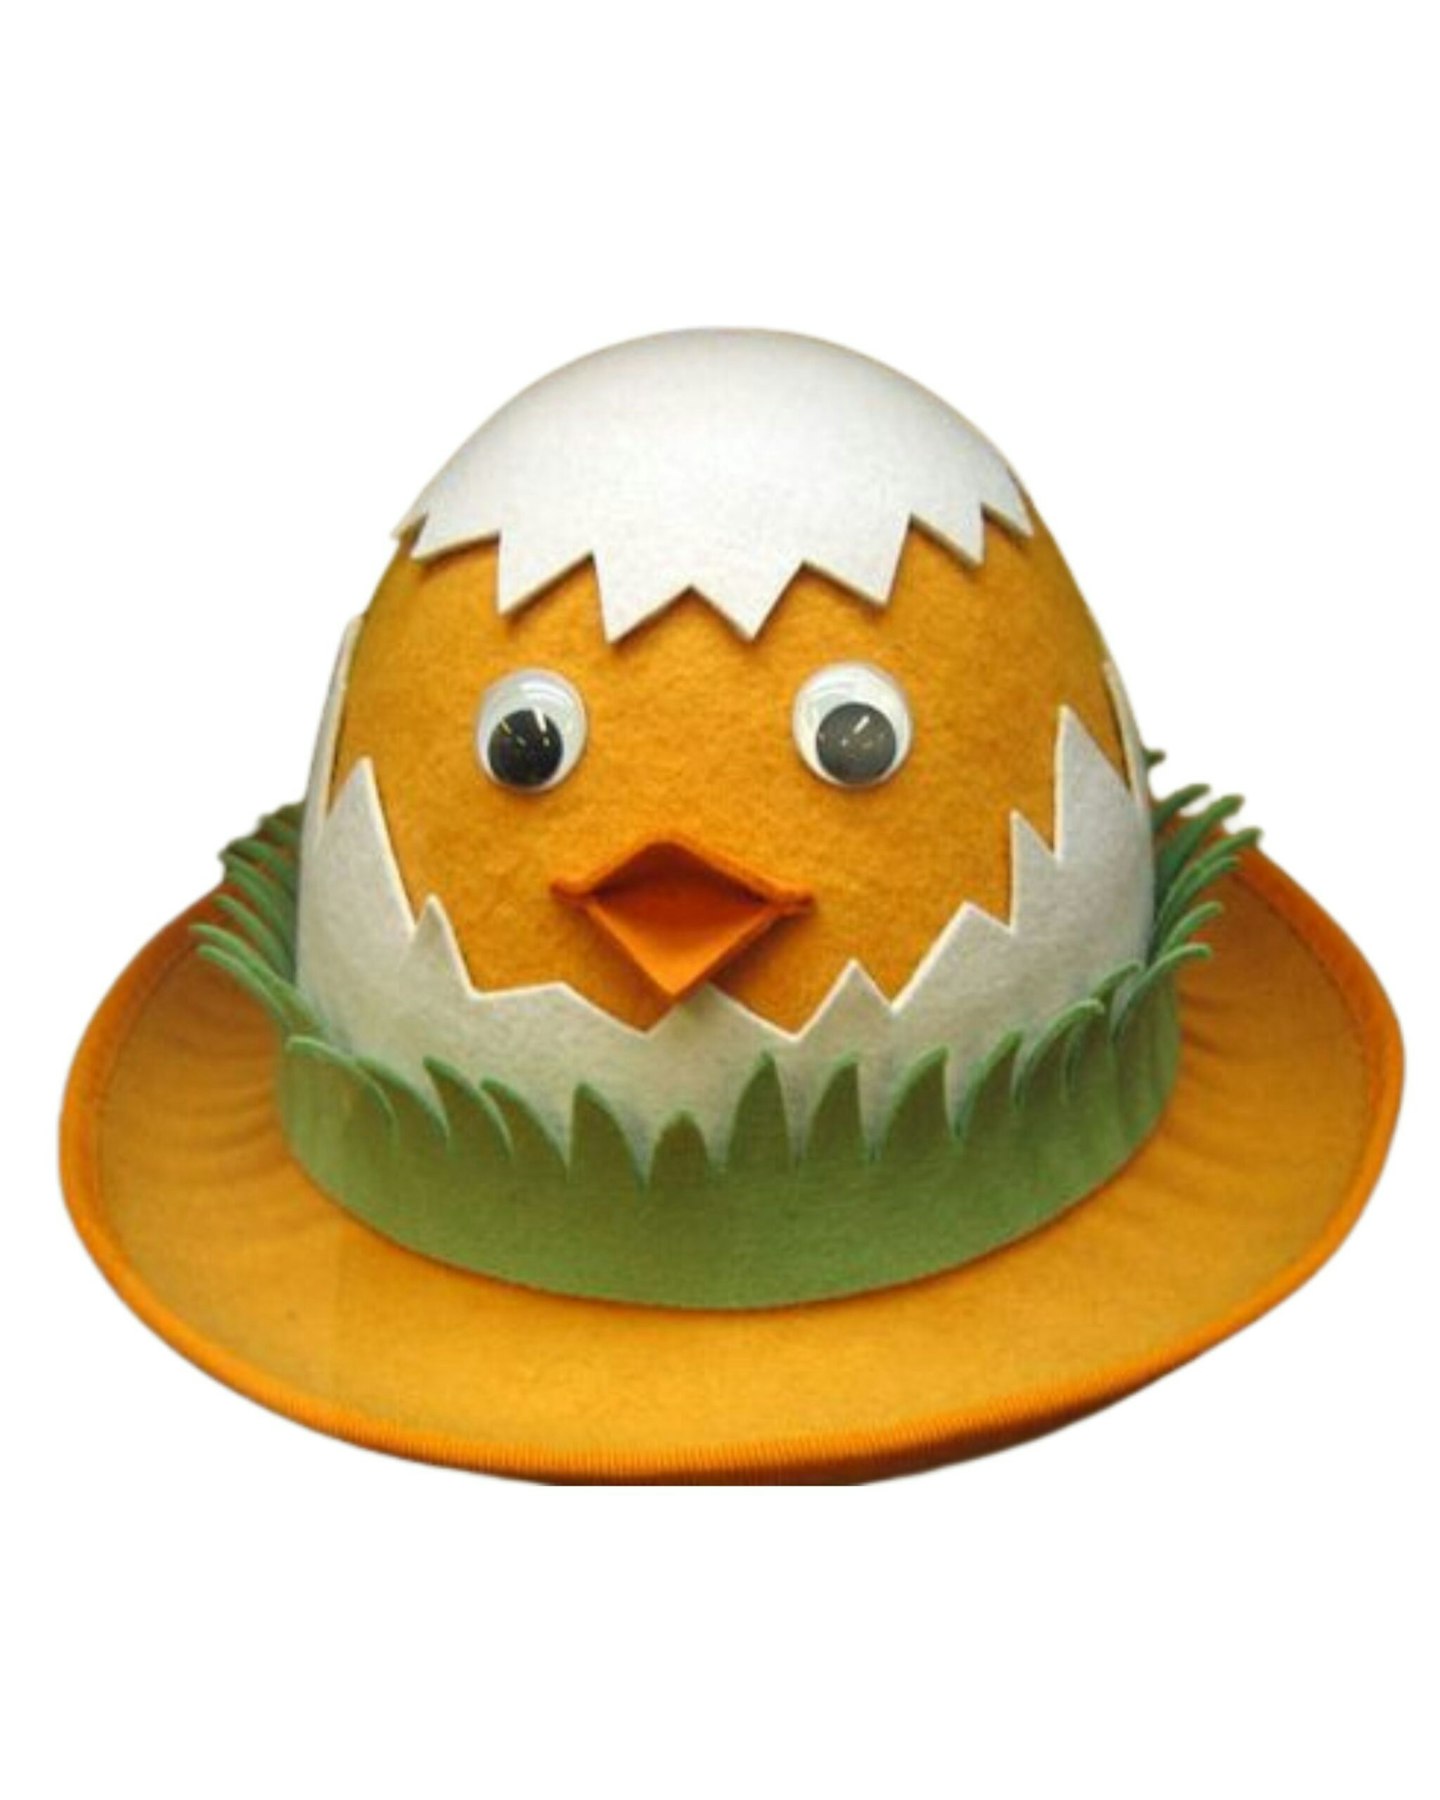
Hatching Chick Hat
Materials:
-
Yellow, white, and green felt or coloured card
-
Scissors
-
Glue
-
Googly eyes
-
Orange felt or card for the beak
How to make:
-
Cut a semi-circle from white felt/card to represent a cracked eggshell.
-
Cut a chick shape from yellow felt/card, ensuring it's sized to fit within the eggshell.
-
Attach googly eyes and an orange beak to the chick's face.
-
Glue the chick onto the front of the hat, then overlay the eggshell at the bottom, giving the appearance of the chick hatching.
-
Cut grass shapes from green felt/card and glue them around the base of the hat for added effect.
Bunny Hat

Materials:
-
White cotton balls
-
Pink and white felt
-
Coloured card for facial features
-
Glue
-
Green felt or paper for grass
How to Make:
-
Cover the entire hat with white cotton balls to create a fluffy bunny appearance.
-
Cut out two large ear shapes from white felt and smaller inner ear shapes from pink felt; glue the pink onto the white.
-
Attach the ears to the top of the hat.
-
Use coloured card to create eyes, a nose, and whiskers, then glue them onto the front of the hat.
-
Cut grass shapes from green felt or paper and glue them around the base of the hat.
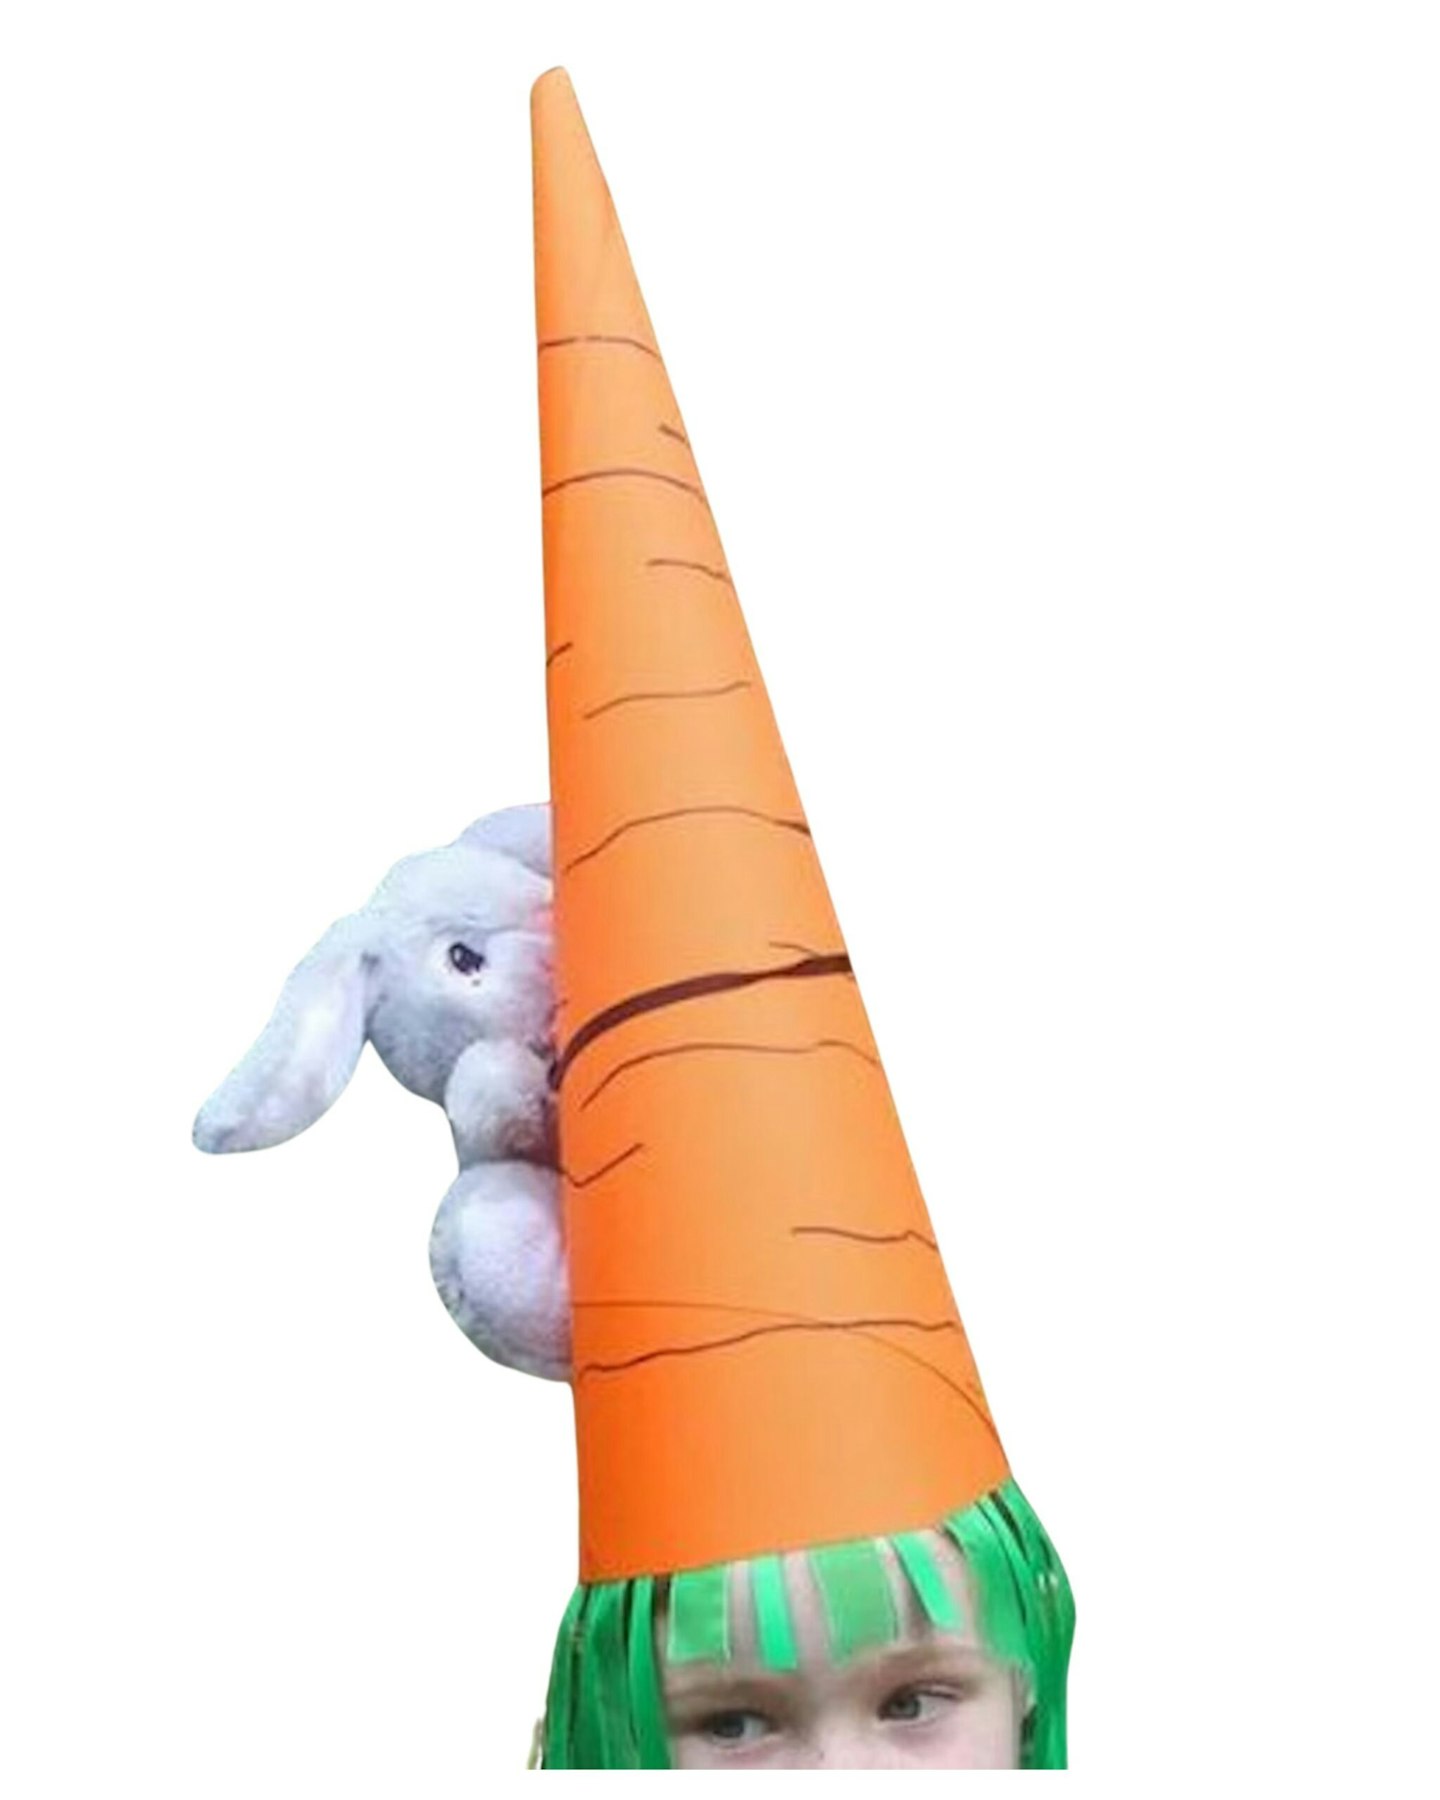
Carrot Top Hat
Materials:
-
Orange and green card
-
Glue
-
Scissors
-
Optional: Small plush bunny toy
How to Make:
-
Roll the orange card into a cone shape to resemble a carrot and secure it with glue.
-
Cut out leafy shapes from green card and glue them to the top of the carrot.
-
Attach the carrot to the top of the hat using glue.
-
Optionally, glue a small plush bunny toy peeking out from the brim of the hat.
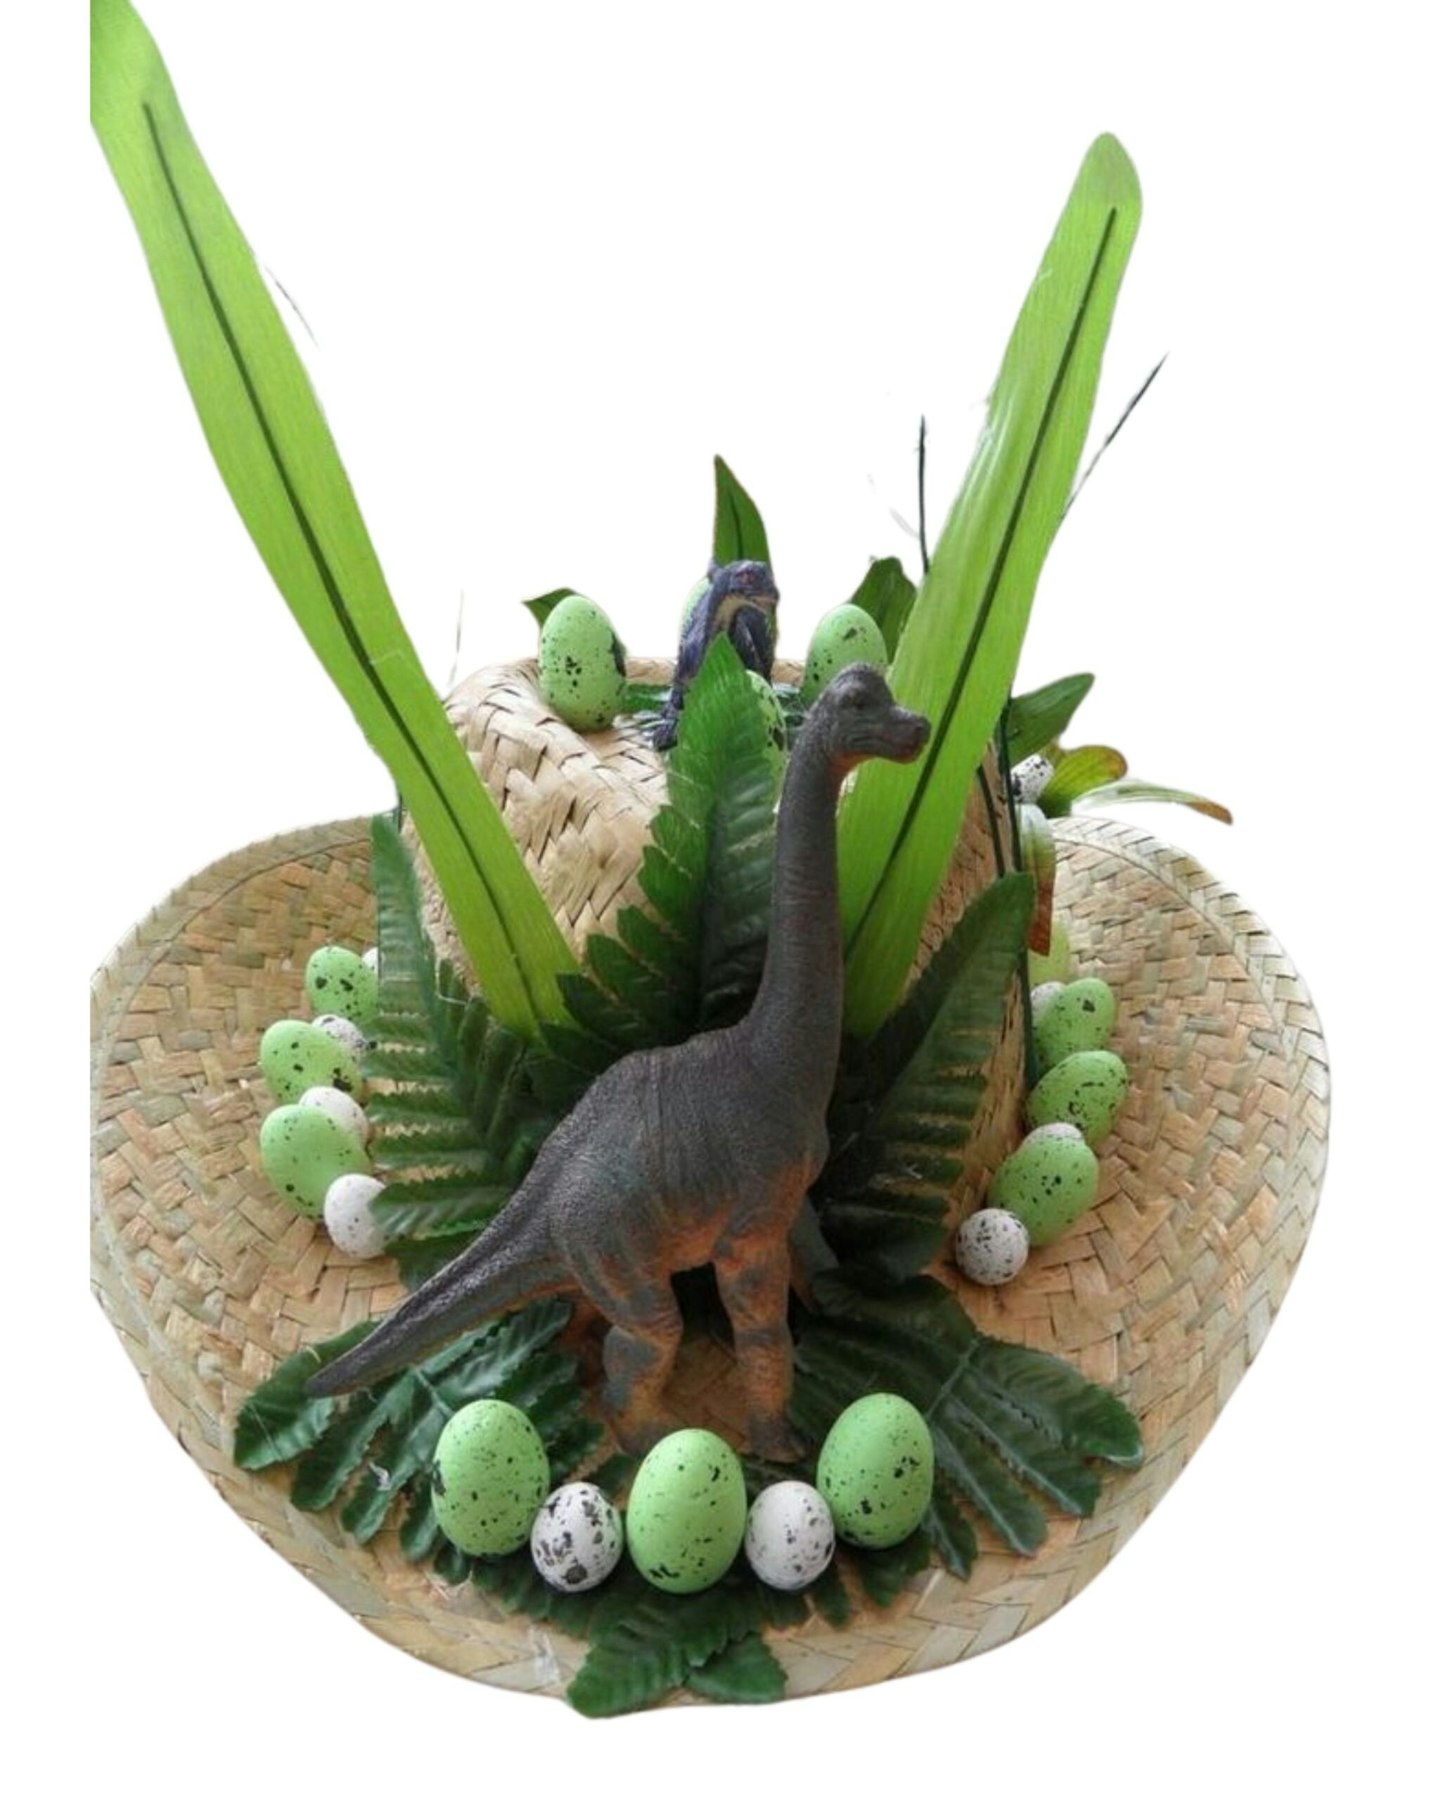
Dinosaur Hat
Materials:
-
Green felt or card
-
Mini craft eggs
-
Small dinosaur toys
-
Glue
-
Scissors
How to Make:
-
Cut out dinosaur spikes from green felt/card and glue them along the center top of the hat.
-
Attach mini craft eggs around the brim of the hat.
-
Place small dinosaur toys among the eggs, securing them with glue.
-
Optionally, add some green felt leaves or grass shapes for additional decoration.
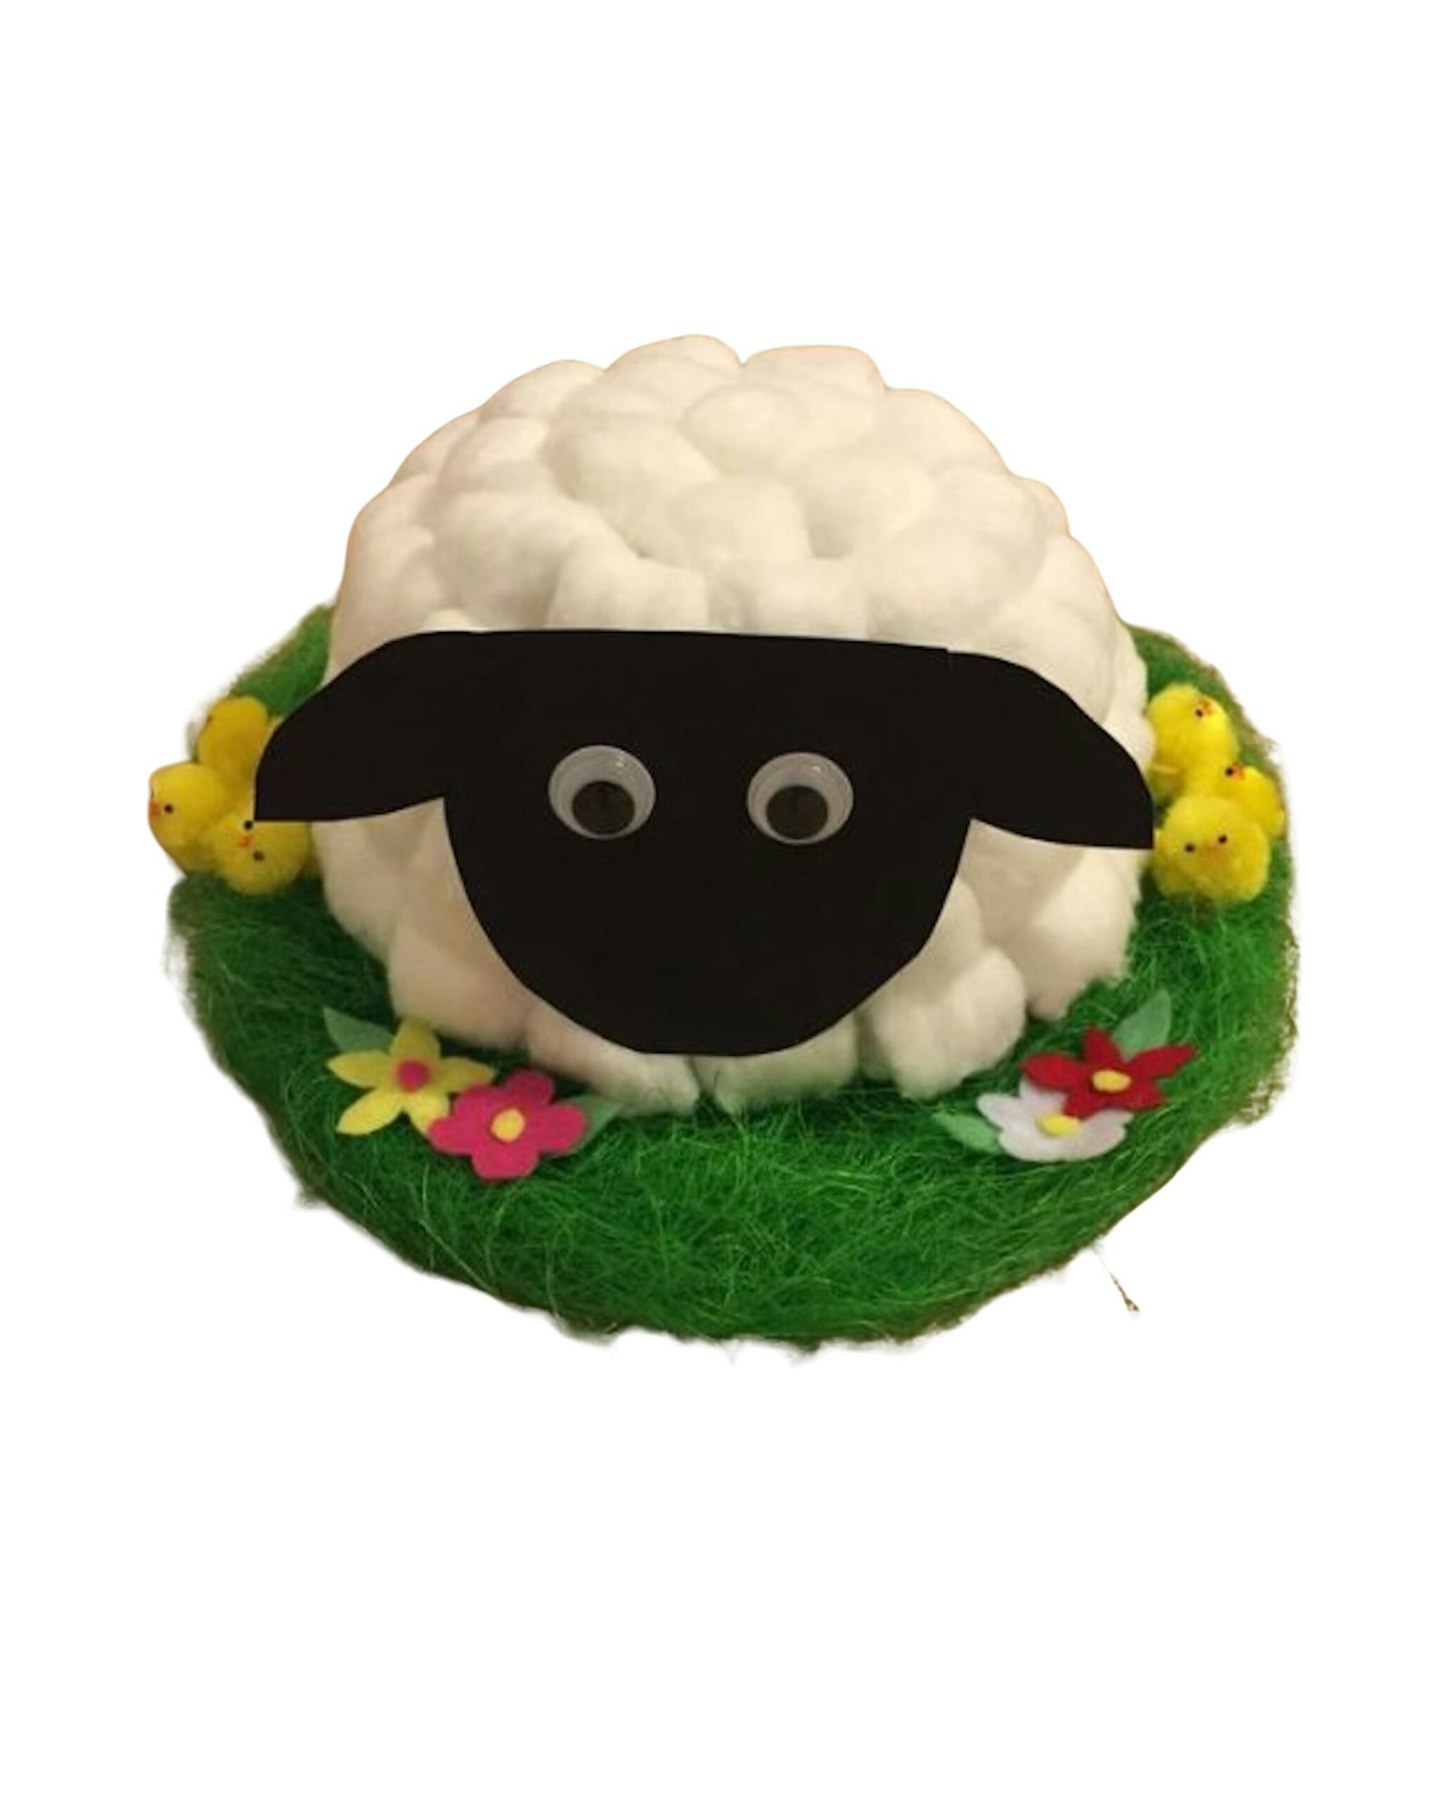
Little Lamb Hat
Materials:
-
White cotton balls
-
Black card for facial features
-
Googly eyes
-
Glue
-
Green tissue paper
How to Make:
-
Cover the entire hat with white cotton balls to mimic a lamb's wool.
-
Cut out ear shapes from black card and attach them to the sides of the hat.
-
Glue googly eyes onto the front of the hat and add a small black card nose.
-
Crumple green tissue paper to create grass and glue it around the base of the hat.
Few tips
-
Get the kids involved, they’ll love picking the theme and helping with decorations.
-
Use a glue gun (if you’re comfortable) for stronger sticking power, but for little ones, a good craft glue will do.
-
Don’t stress the mess! Crafting is half the fun, pop a tablecloth down and embrace the chaos.
What do I need to make an Easter bonnet?
There is no set rule what you can use to make an Easter bonnet, but there are a few craft pieces and East bonnet kits you might want to look at buying...
Perfect starter bonnets for decorating fun at home or school. This two-pack includes a blue and yellow hat, one for each child or for your little one to choose from! Great for DIY decorating with pom-poms, stickers, and more.
Pros
- Unisex – great for siblings or class projects
- Perfect base for creativity
- Good size fit (ages approx. 3–9)
Bright, soft felt that’s super easy to cut and shape. Great for cutting grass borders, Easter eggs, or bunny ears for your bonnet projects. A staple in any craft box!
Pros
- Lovely variety of colours
- Cuts cleanly with no fraying
- Soft yet holds shape well
Cons
- Some find the sheets smaller than expected
- Thickness varies slightly
Best Easter bonnet chicks
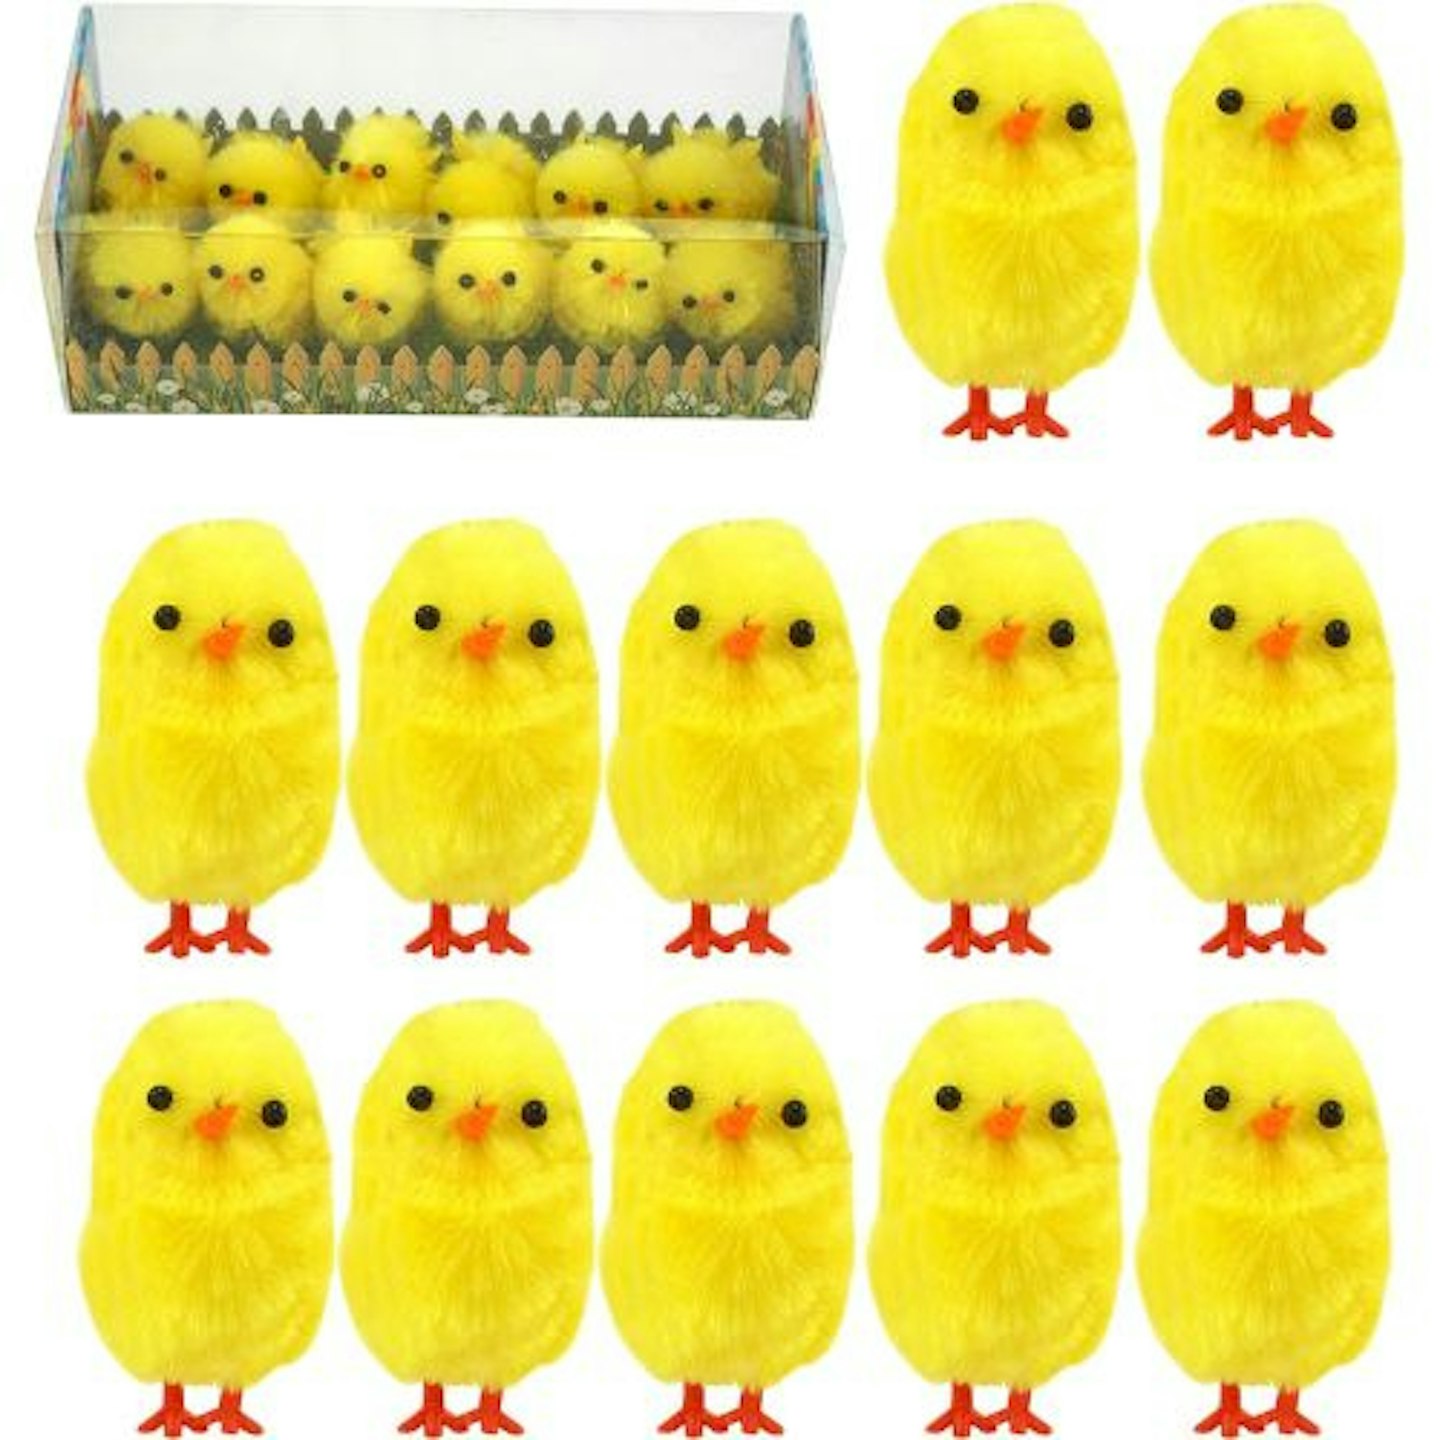 Amazon
The 12PCS Easter Chenille Yellow Chicks are a plush material with little plastic feet. They're handy for creating a chick-themed Easter bonnet.
Pros
- Soft
- Plastic feet are easier to stick to the hat
Cons
- They are only small
Bring your Easter bunnies and chicks to life with these wobbly googly eyes. They come in four sizes and are perfect for little hands to stick onto paper or felt creations.
Pros
- Huge quantity for tons of crafts
- Fun variety of sizes
- Kids love using them
Cons
- A bit fiddly to peel off the backing
Best Easter bonnet cotton balls
 Amazon
If you're wanting to create a bunny look, then you need these Simply Soft Cotton Wool Balls to cover the bonnet to make a fluffy bunny! You can add googly eyes, or even dip a cotton ball in paint to make bunny eyes.
Pros
- Creates a fluffy bunny look
- Good value
Cons
- You might need two packs of cotton balls
A reliable pair of scissors that cuts through paper, felt, and ribbon with ease. Sturdy and sharp, just what you need when you're wrangling last-minute school crafts. Comes as a set of three.
Pros
- Sharp and durable blades
- Comfortable grip for adults
- Cuts through fabric and felt easily
Cons
- A little large for small kids’ hands
- Doesn’t come with a blade cover
Best Easter bonnet accessories

A fun and colourful set of decorations for kids to jazz up their Easter bonnets! With eggs, chicks, bunnies, and more, this kit lets kids go wild with their creativity for the perfect Easter look.
Pros
- Tons of fun decorations for all kinds of Easter crafts
- Works for both boys and girls
- Easy for kids to use and personalise their bonnets
Cons
- Some pieces are small, so adult supervision is needed
- Bonnet isn’t included, so you’ll need to buy that separately
This glue gun heats up fast and gives a strong hold, great for sticking heavier decorations like plastic eggs or mini toys onto your Easter hats.
Pros
- Quick to heat, precise glue control
- Doesn’t drip, less mess!
- Comfortable size and sturdy trigger
Cons
- Not cordless
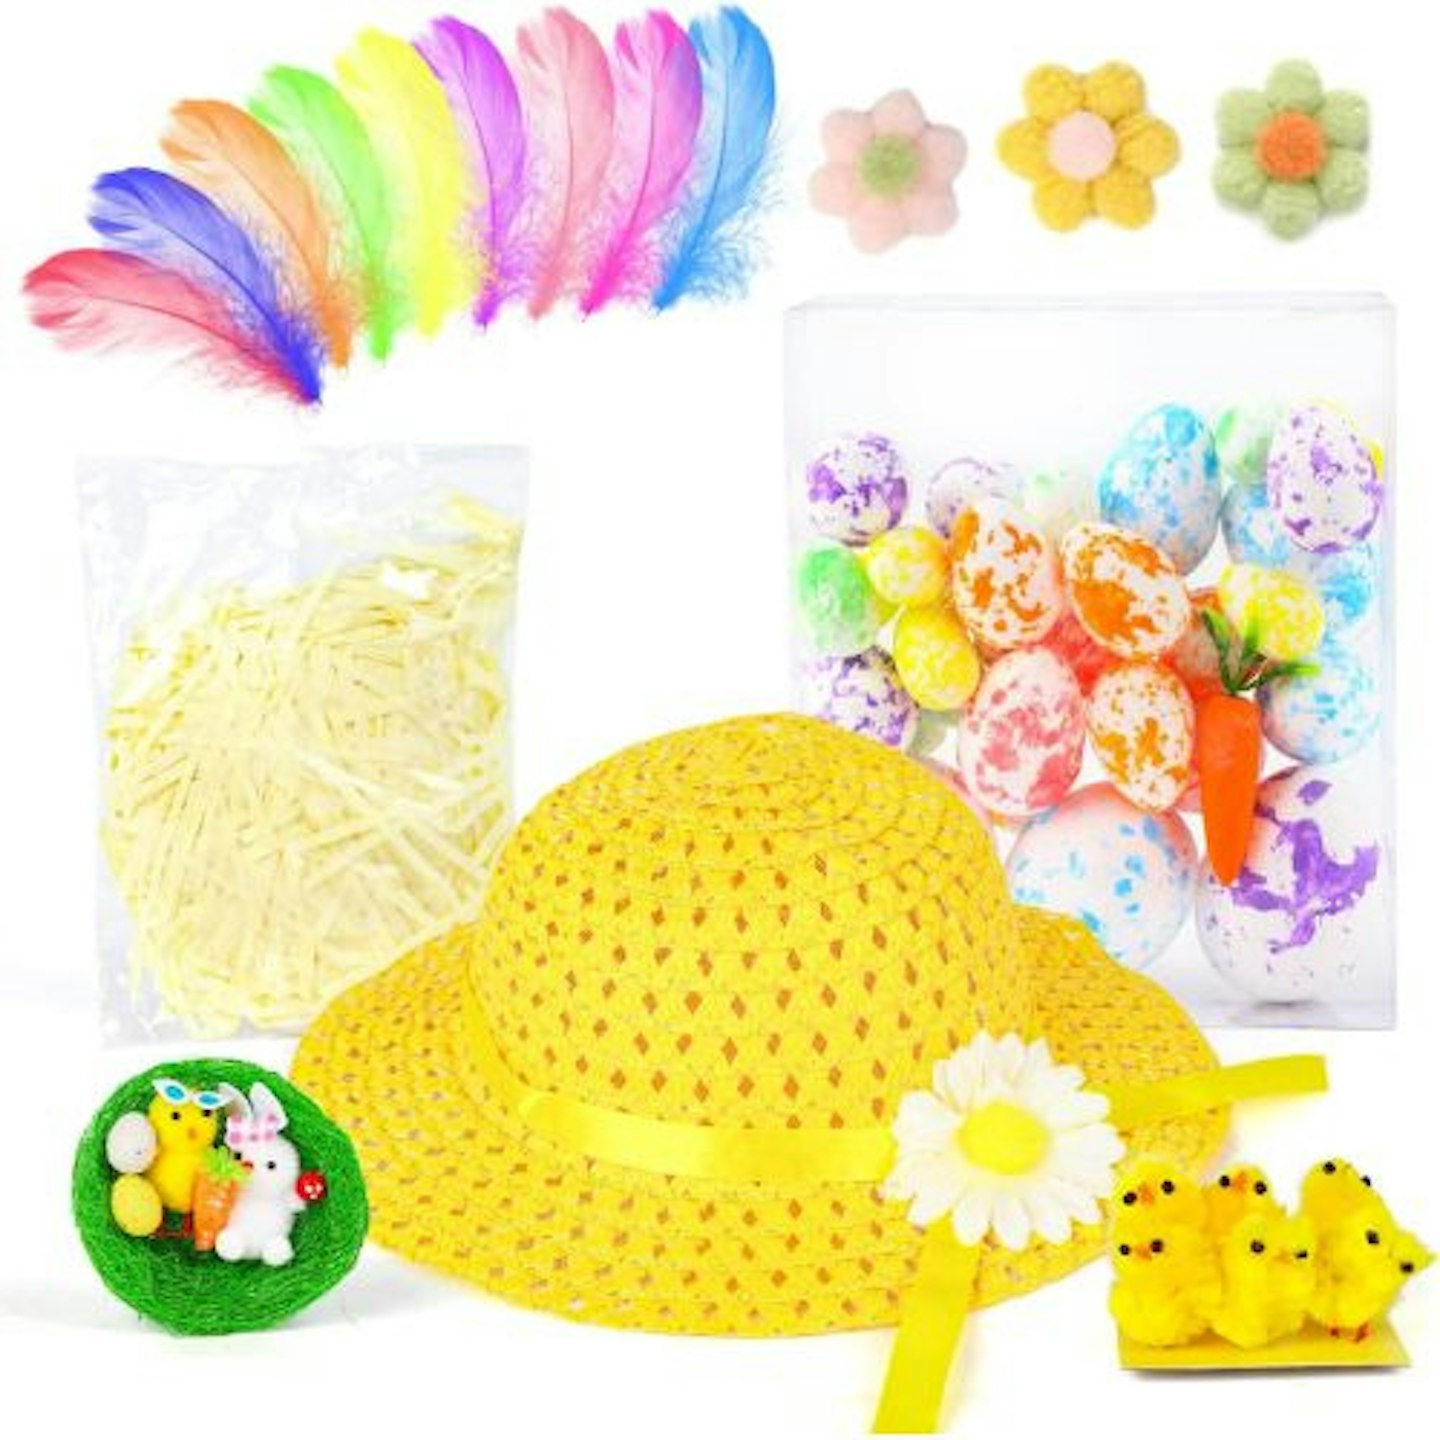
Best Easter bonnet kit
 Amazon
This VEYLIN Easter Bonnet Kit has everything you need to make your themed bonnet. From feathers to little fluffy chicks and eggs, there's a great mix of crafting accessories included.
Pros
- Available in three different colour hats
- Everything you need to create an Easter bonnet
Cons
- You might want more of the decorations included
Easter bonnet ideas FAQs
What can you decorate an Easter bonnet with?
You can use colourful flowers, ribbons, fluffy chicks, Easter eggs, bunny ears, pom-poms, or springtime figurines. Craft supplies like glitter, stickers, and felt shapes can add extra charm. Let your child’s imagination run wild and have fun with it!
How do you create a stunning Easter bonnet?
Start with a simple hat or headband as the base. Straw hats and wide-brimmed sun hats work great. Arrange decorations before gluing them down, using craft glue or a hot glue gun with adult supervision. Layering textures like lace, tissue paper, and feathers can add extra detail. Most importantly, enjoy the process and encourage creativity.
What is the meaning behind the Easter bonnet tradition?
Easter bonnets symbolise renewal and celebration, much like the arrival of spring. Historically, people wore new clothes and fancy hats on Easter Sunday to mark the occasion. Today, making Easter bonnets is a fun tradition that allows kids to express their creativity while celebrating the season.
Which type of glue works best for Easter bonnets?
For lightweight items like paper flowers and fabric, strong craft glue or school glue works well. For heavier decorations like plastic eggs or foam bunnies, a hot glue gun with adult supervision is best. Double-sided tape is a good option for a quick, mess-free design.
About the author
Samantha Ball is a Features & Reviews Editor for Mother&Baby, having written for the brand since 2018. She's a mum of two aged seven and three, and is currently expecting her third. She loves searching for the best and current trending products for little ones. She loves to bake, but spends most of her free time between football and ballet classes.