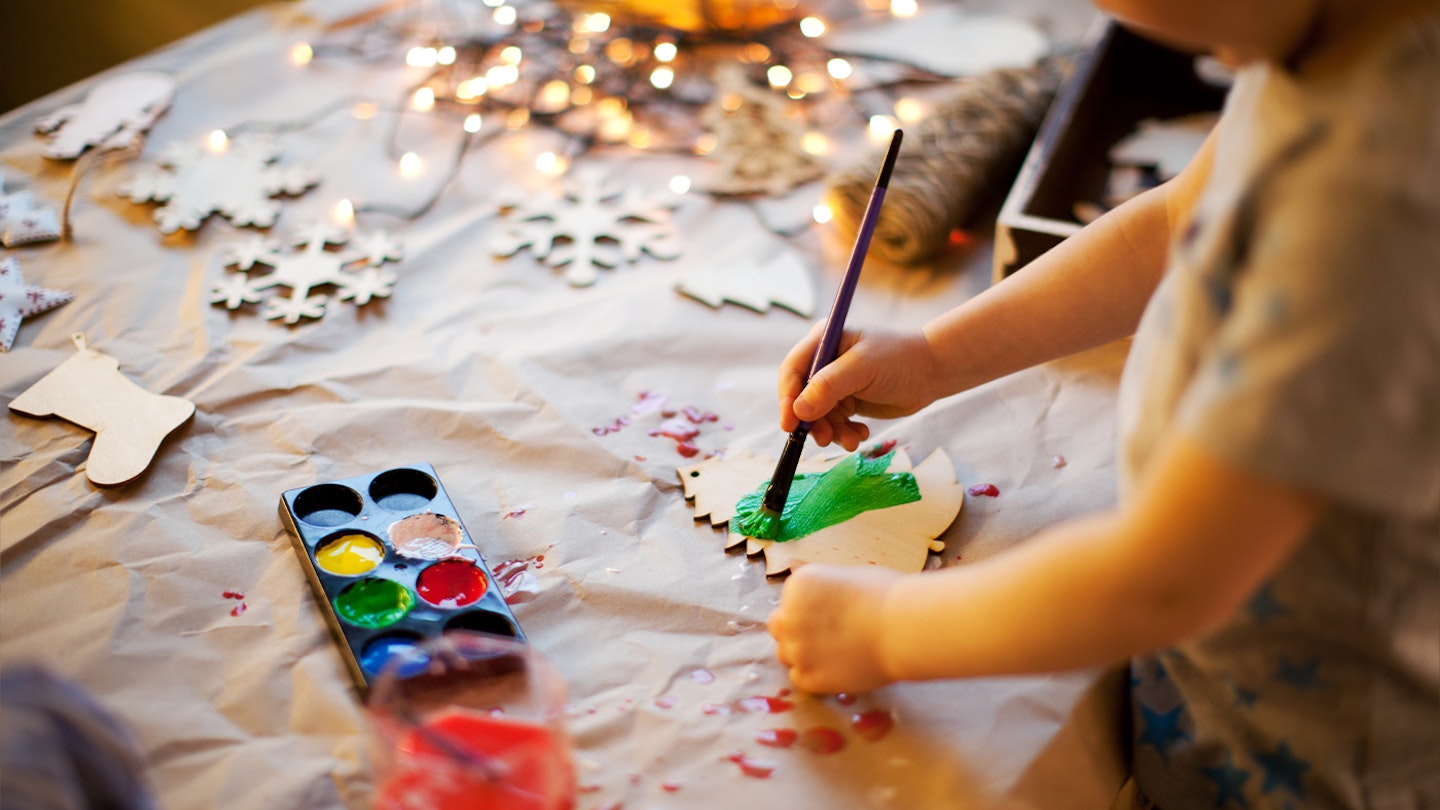
Decorating the Christmas tree each year can bring back so many lovely memories of Christmases gone by, and as your little ones grow up, you'll cherish those decorations they made when they were little, forever.
Making your own diy Christmas decorations for the tree is a lovely festive activity to do with your tot in the lead up to Christmas, and there is plenty of inspiration online to give you some ideas for your own homemade Christmas decorations to make at home with the kids.
To give you some inspiration, we've rounded up some of our favourite ideas for Christmas decorations to make that we've found on Pinterest, including diy paper christmas decorations and other easy to find/buy craft laterials, with instructions on how to make them - that hopefully shouldn't be too tricky to make with your toddler.
How to make Christmas decorations: Inspo & instructions
How to make a Twig hanging star Christmas decoration
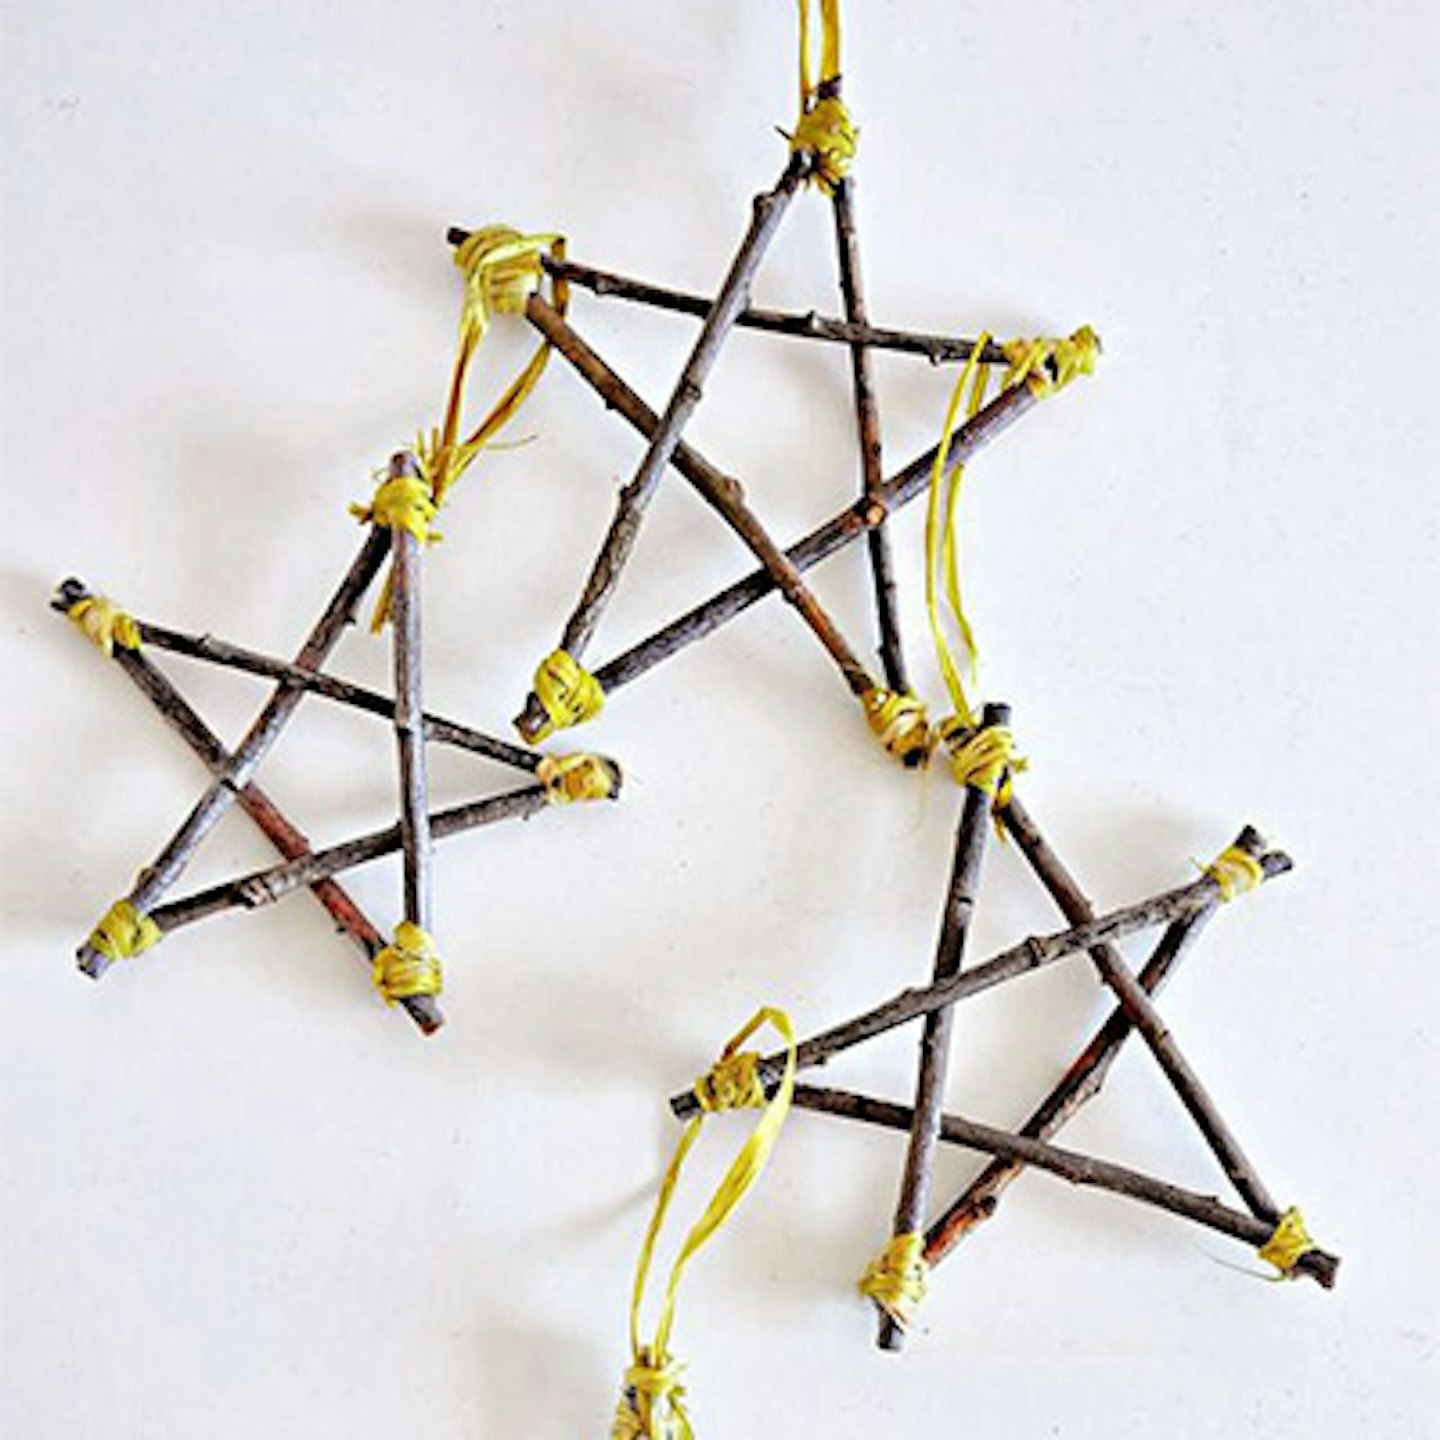
Not only are these stars super easy to make, they also provide a great excuse for getting your little one outdoors and exploring for the best twigs in the garden. You can make these stars as big or as little as you like, and you can also choose your own twine colour for extra pop!
What you'll need:
5 twigs of similar size (cut the twigs down to size if needed)
Plenty of twine or string
Glue gun
How to make:
Firstly, start by gathering your twigs and cutting them down to the right size. You may need to use some strong pliers for this part.
Assemble your twigs in the star shape, and use a little glue to secure the twigs into the star shape.
Secure the star even further by wrapping the twine around each join. When you're happy with the amount of twine used, glue the end to secure.
How to make salt dough ornaments to decorate your Christmas tree
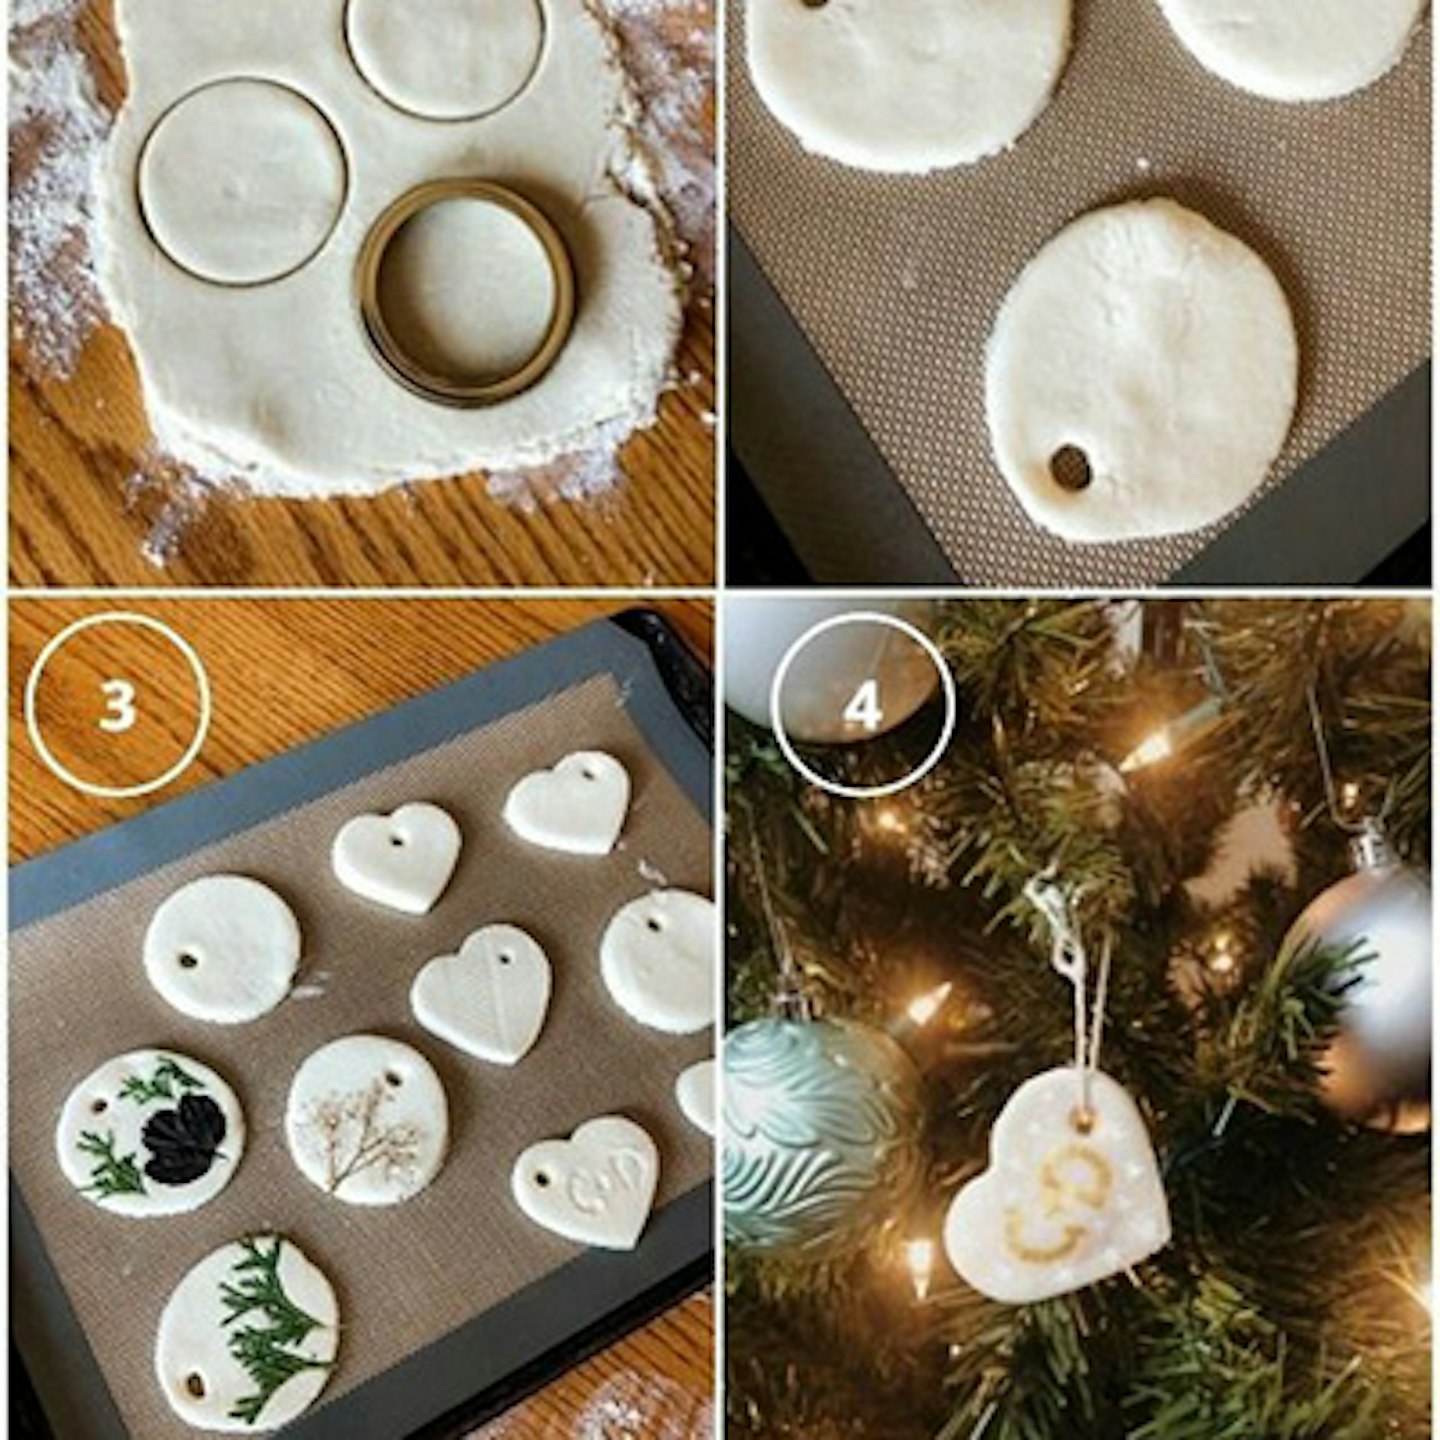
You've no doubt already had a go at some salt dough crafts, and your tot will be very familiar if they attend a nursery. They're very easy to make and can be customised and painted however you like.
What you'll need:
2 cups of flour
1 cup of water
1 cup of salt
Baking sheet and parchment
paper/silicone baking sheet
Paint, twigs, leaves, branches, cookie cutters, etc. to decorate
How to make:
First, combine the flour, salt, and water together to make the dough. You may need to knead for a little bit. If it’s too sticky, add a little bit more flour. Then roll out your dough and you can use a cookie cutter to cut out specific shapes.
Transfer your shapes to a baking sheet lined with parchment paper or a silicone baking mat and poke a hole at the top of the soon-to-be ornament so you’ll be able to hang it up later. This will be almost impossible after it’s baked so do it before.
Now you can press leaves and flowers into the dough, or your baby’s foot/handprint, or using the
back of a pen, you can write out a word if you’d like.
Then bake at 200 degrees for 1-2 hours. Time will vary based on your oven and the thickness of the
dough so just check it after an hour to make sure it’s not burning.
After the ornaments have cooled you can string them up or you can paint and decorate them!
How to make Pom pom pine cone decorations for your Christmas tree
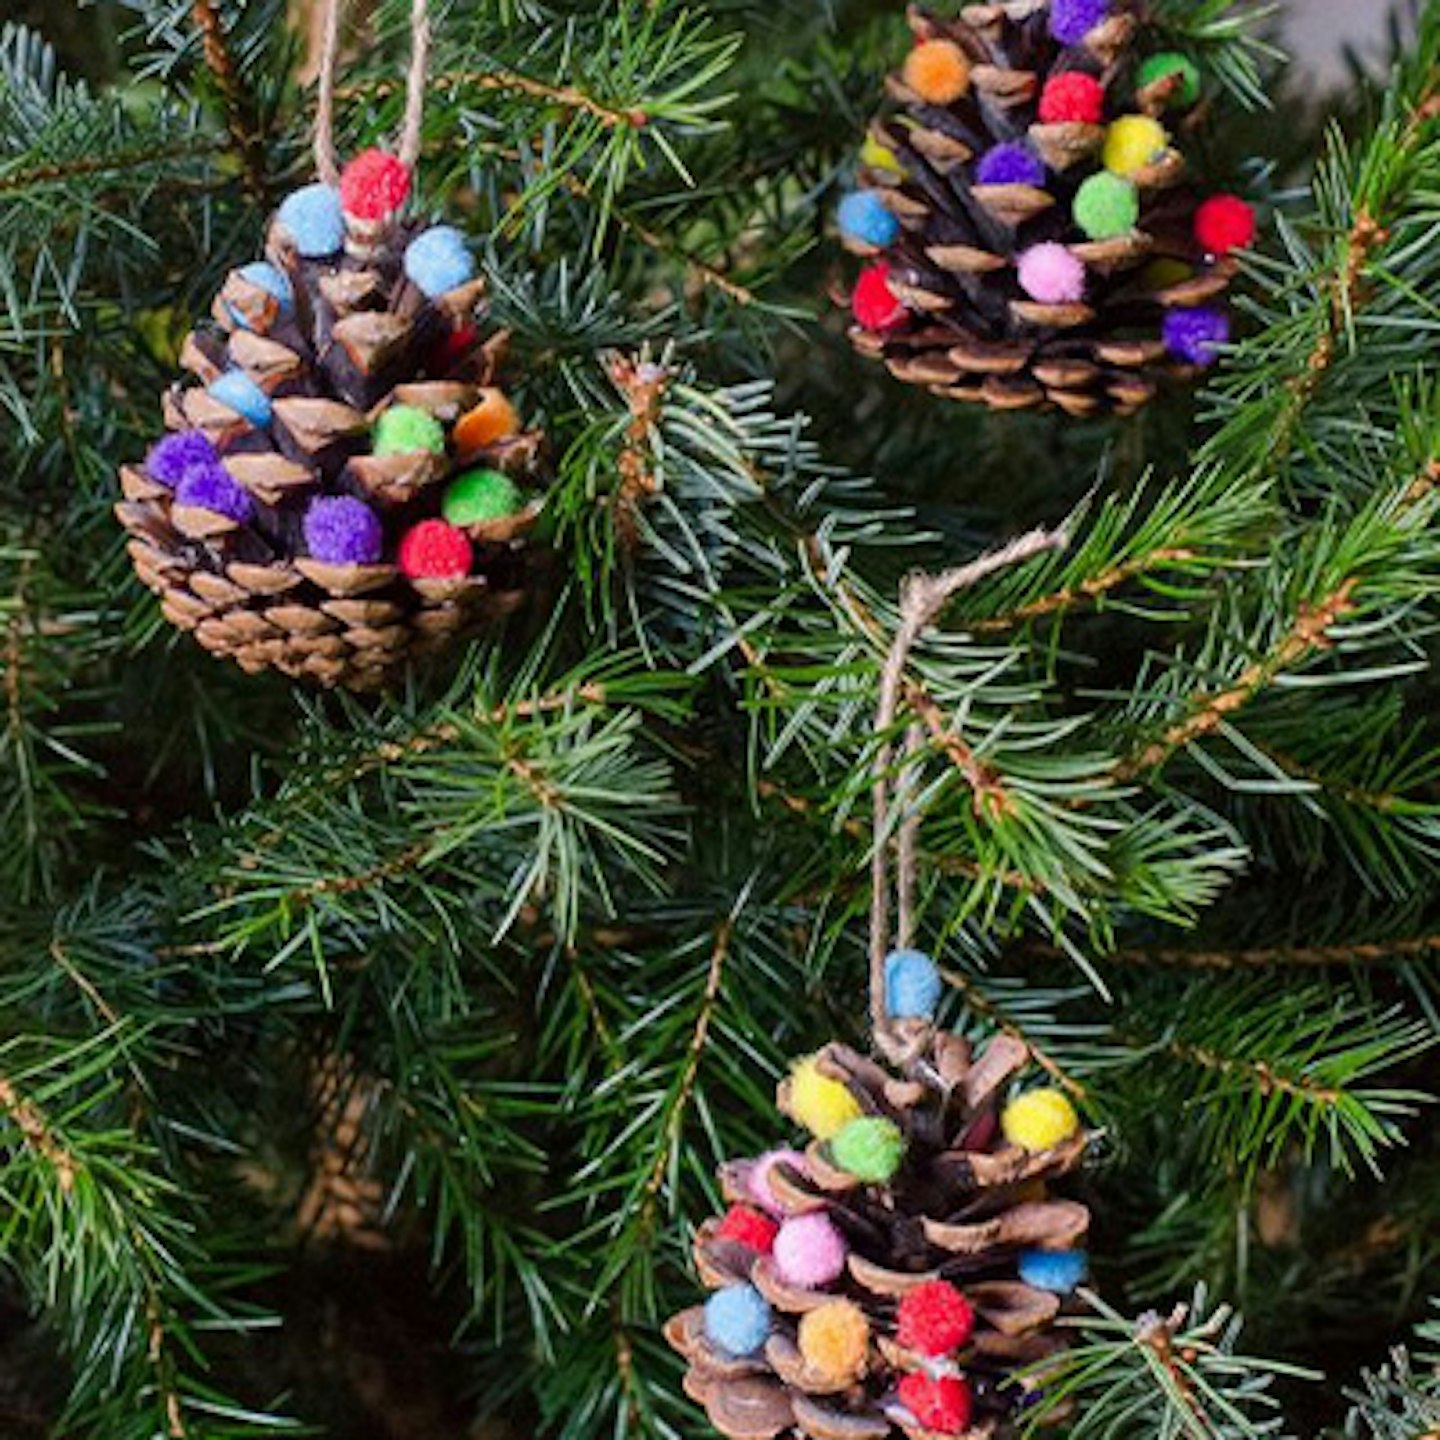
Add some colour to your tree with these adorable pinecone decorations. You'll need to get foraging for some pine cones in the woods or you can order them online if that's easier.
What you'll need:
Pine cones
PVA glue
Paintbrushes
mini pom poms
natural string
How to make:
Use your paintbrush to add dabs of glue to your pine cone where you want the pom poms to be.
Once your glue is in position, add your mini pom poms. Push each one gently into the glue, to give it a good chance of sticking. The shape of the pine cone should help to hold them in.
Once the glue has dried, cut a length of string and tie it around the top of each pine cone. Aim to have the top of the pine cone in the middle of the length of string. Then tie both ends together to make a large loop.
how to make light-up snowmen and penguins
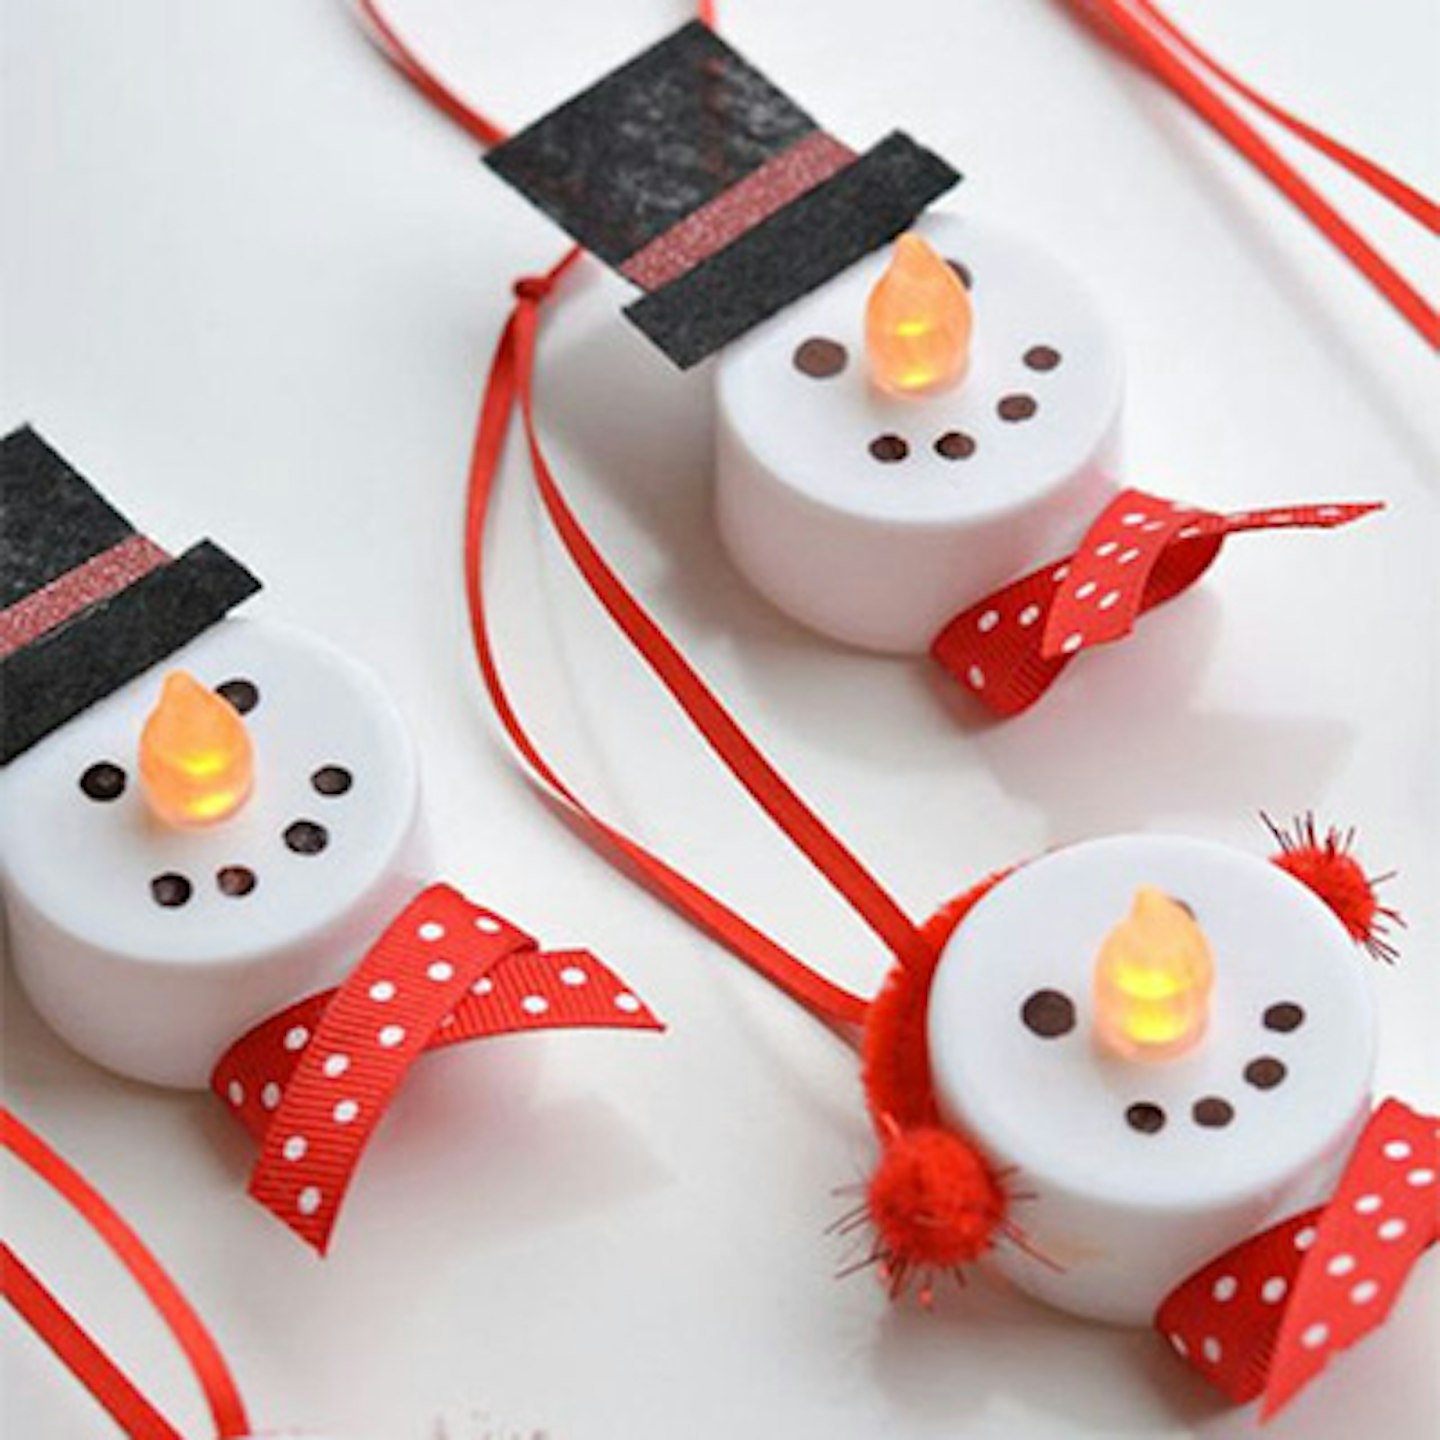
If you'd rather avoid real candles this festive season, these battery operated candles are a brilliant alternative. Best of all, you can customise them into fun characters, without needing to worry about getting burned.
What you'll need:
Battery operated tea lights
A Black Sharpie
Red Ribbon
Red pipe cleaners
Red pom poms
Black felt
Orange Sharpie
Glue gun
How to make:
Use the black Sharpie to draw on the face of your character, positioning the candle light as the nose.
Cut around 2.5cm of red pipe cleaner, glue to the top of the candle and glue on two pom poms either side to create an ear muff look. You can also cut a small piece of ribbon to cross into a scarf shape and stick onto the candle.
To hang up, weave some ribbon through the pipe cleaner and tie together in a loop.
Do the same for the snowmen, just add a cut out top hat on top of the candle instead of the ear muffs.
How to make a mini pine cone wreath
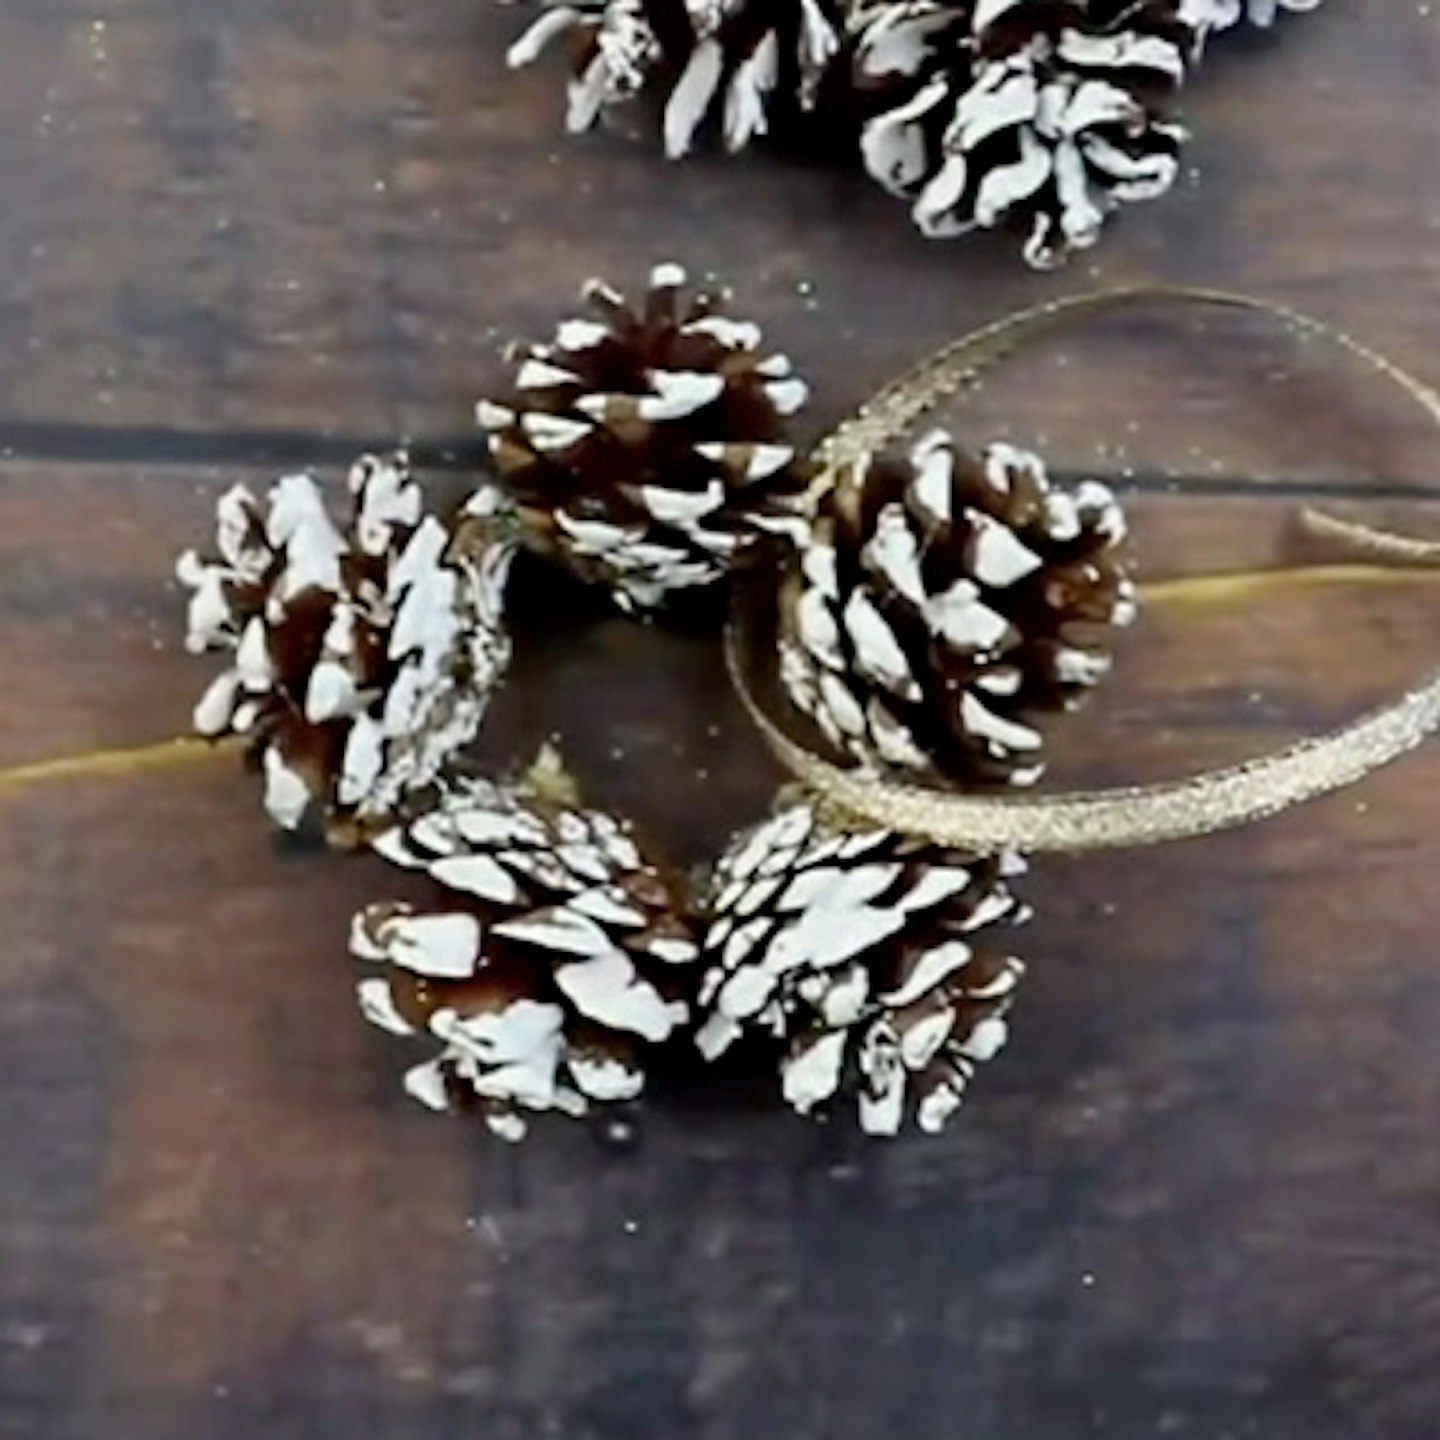
We can't get enough of pinecones this season, and these mini pinecone wreaths are adorable to hang up around the home or even on the tree. If you fancy something bigger, you can simply add some more pinecones.
What you'll need:
Pinecones of similar sizes
Glue gun
Paint brush
White paint
Glitter
How to make:
First arrange your pinecones into a circle. If you're following this, you'll need five pinecones all of similar sizes.
Glue them all together in the circle using a glue gun.
Use your paint brush and white paint to give the pinecones and snowy finish.
Give the whole thing a sprinkle of glitter and leave to dry.
Once dry, grab a nice piece of ribbon, tie around one of the pinecones into a loop and hang.
How to make a pipe cleaner candy cane
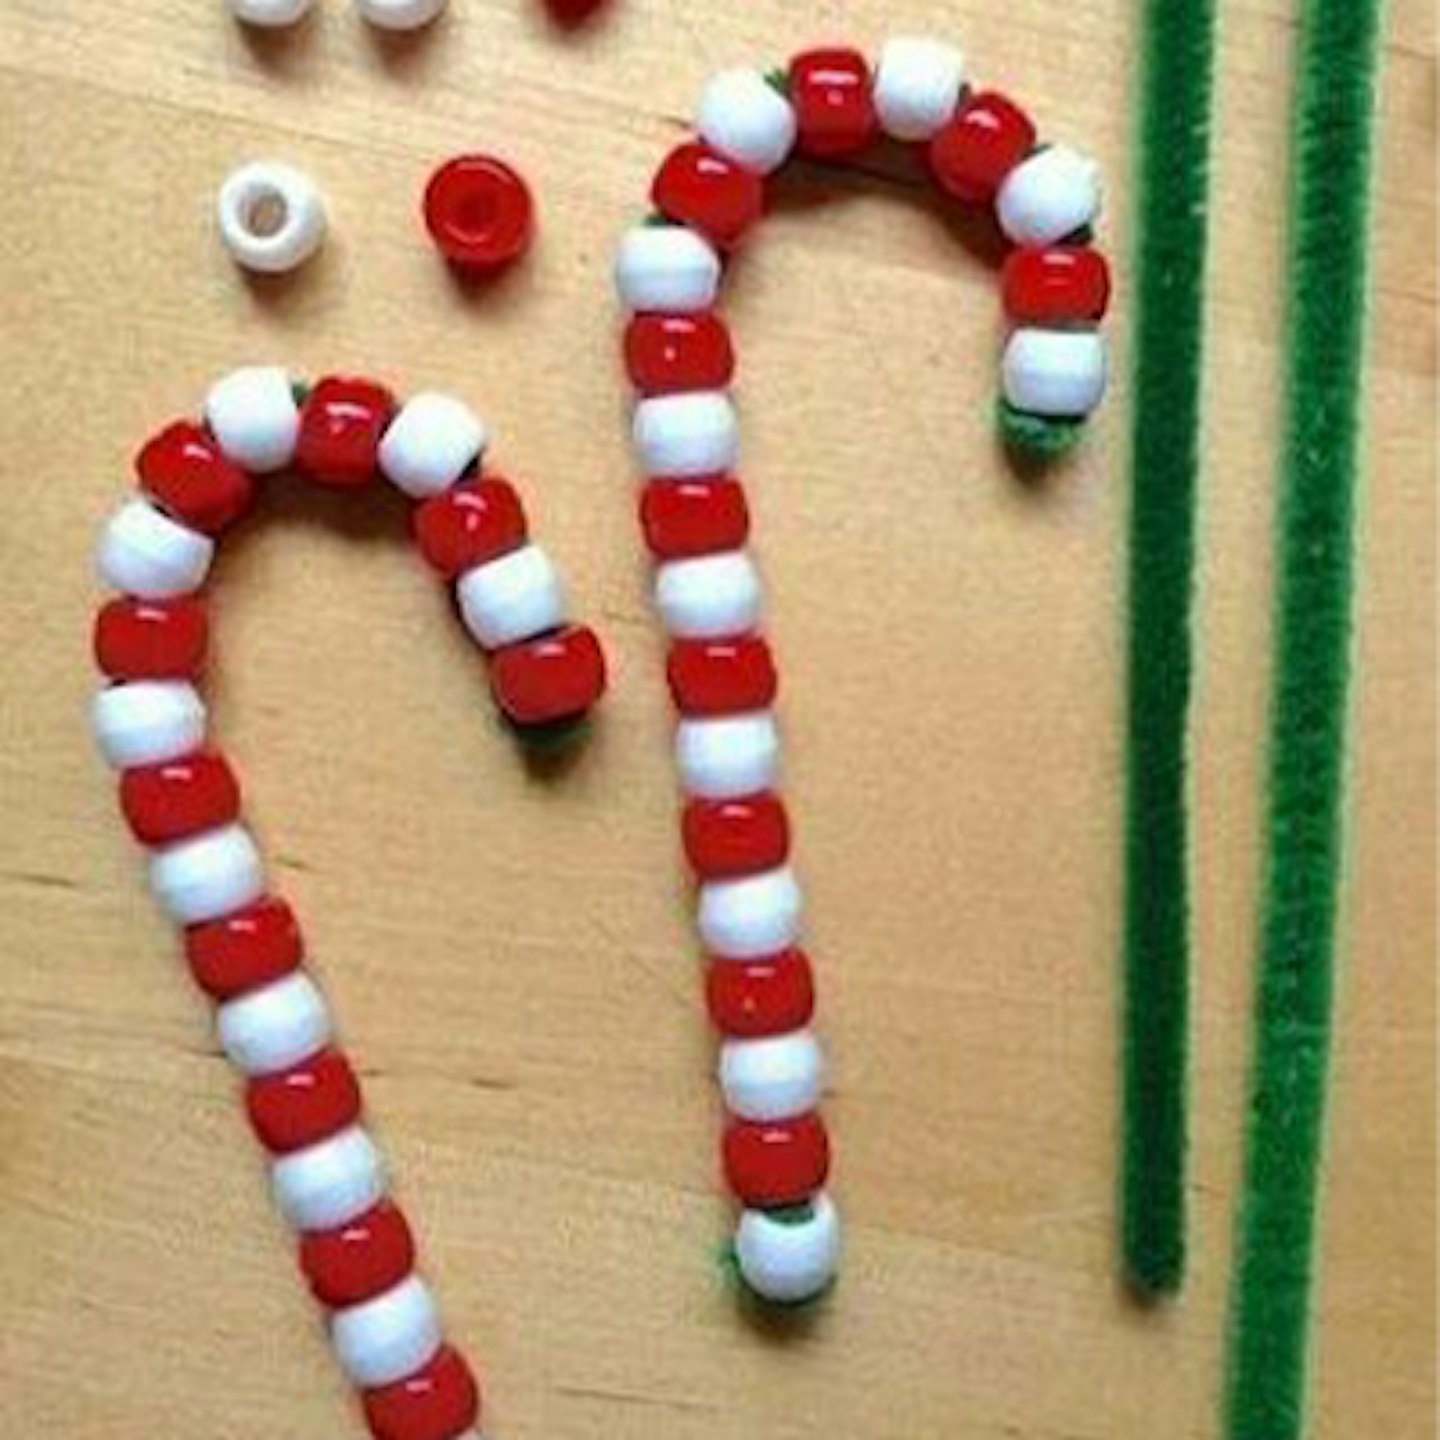
These can be hung upon your tree or anywhere around the house where they'll be steady. They're super easy and safe to make for little ones of all ages. You can even make them into other shapes such as hearts or stars if you fancy.
What you'll need:
Green pipe cleaners
Red and white beads
How to make:
Start by tying a little knot at the end of one of the pipe cleaners and bend your pipe cleaner to be in a candy cane shape.
Thread on all your beads, alternating between red and white.
When you're happy with the amount of beads you have on, tie the end of the pipe cleaner to make sure none of the beads fall off.
If you have any ends of the pipe cleaner hanging out from the knots, simply cut them with a strong pair of scissors or pliers.
How to make a reindeer twig decoration
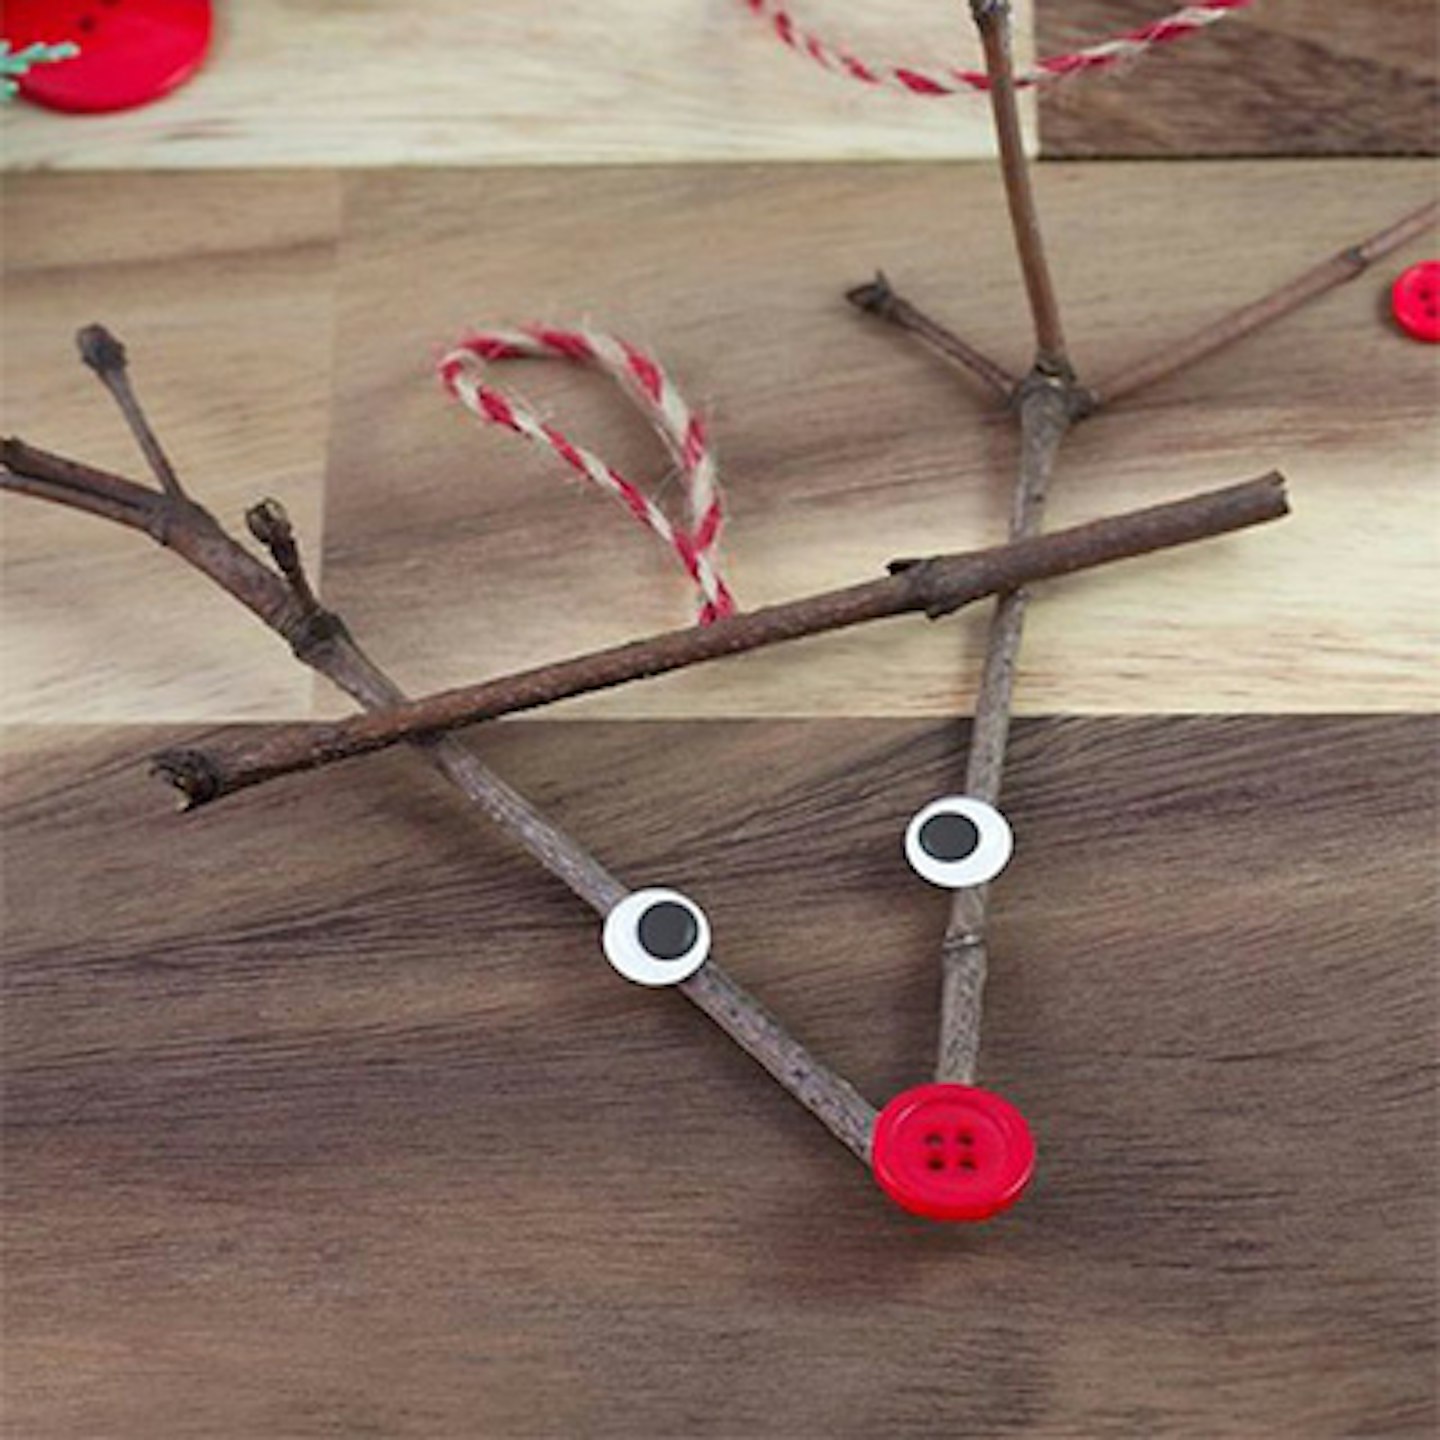
These adorable reindeers can be made as big or as small as you like and can be hung upon any door or even be used instead of a wreath to greet people as they enter your home.
What you'll need:
Twigs
Googly eyes
Red button
Craft glue
Scissors
Twine or ribbon
How to make:
After you've collected your three twigs, glue them into the shape of a triangle and allow the glue to dry completely.
Once dry, glue on your googly eyes and the red button nose and leave to dry.
Finally, tie your ribbon or string around the top (secure with glue if you like) and create a loop to hang up.
How to make a paper straw Christmas tree
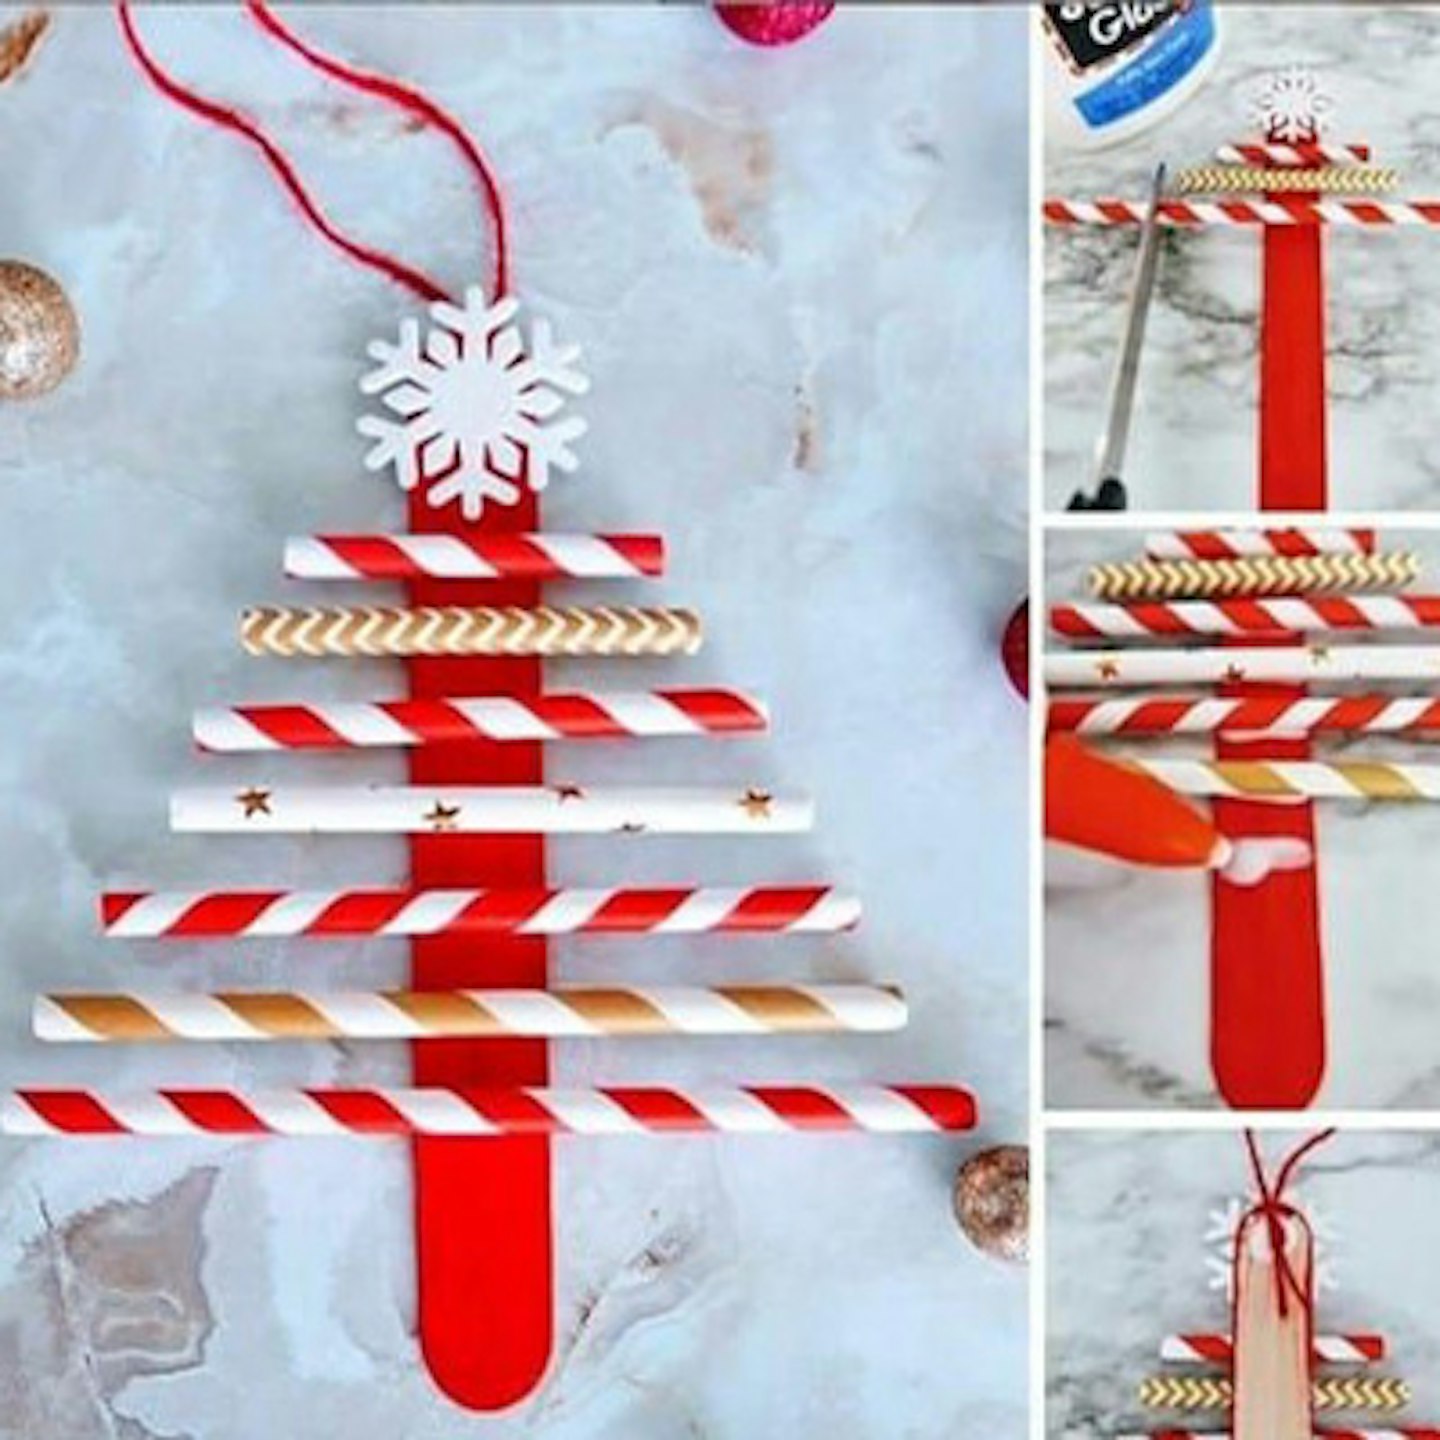
These lovely little Christmas trees are super cute, and in these festive red colours, they're a lovely way of spready Christmas cheer throughout the home.
What you'll need:
1 jumbo wooden craft stick
Red acrylic craft paint
Craft paint brush
Red craft jute twine
Paper straws in red, white, and gold
Snowflake sticker
Elmer’s School Glue
Scissors
Paper plate
How to make:
Place the large wooden craft stick on the paper plate. Using a paint brush, paint the craft stick with red paint - I painted two coats to make sure I had full coverage. Let dry completely before moving to the next step.
Remove the backing from the snowflake sticker, and place it at the top of the red craft stick.
Cut a piece of one paper straw slightly wider than the width of the craft stick. Glue the piece right below the snowflake sticker. Repeat this process with different colour paper straws, cutting each straw slightly wider than the previous one, and then gluing to the craft stick. Continue until the last straw is approximately 1” above the bottom of the craft stick. Let dry completely.
Cut a piece of red jute twine approximately 10” long. Fold in half, and then tie a knot at the bottom. Flip the craft stick over, and glue the knotted end of the jute twine to the top of the stick (on the opposite side of the snowflake sticker).
Once dry, your Christmas Tree is ready to be hung!
How to make a rudolph wood slice ornament
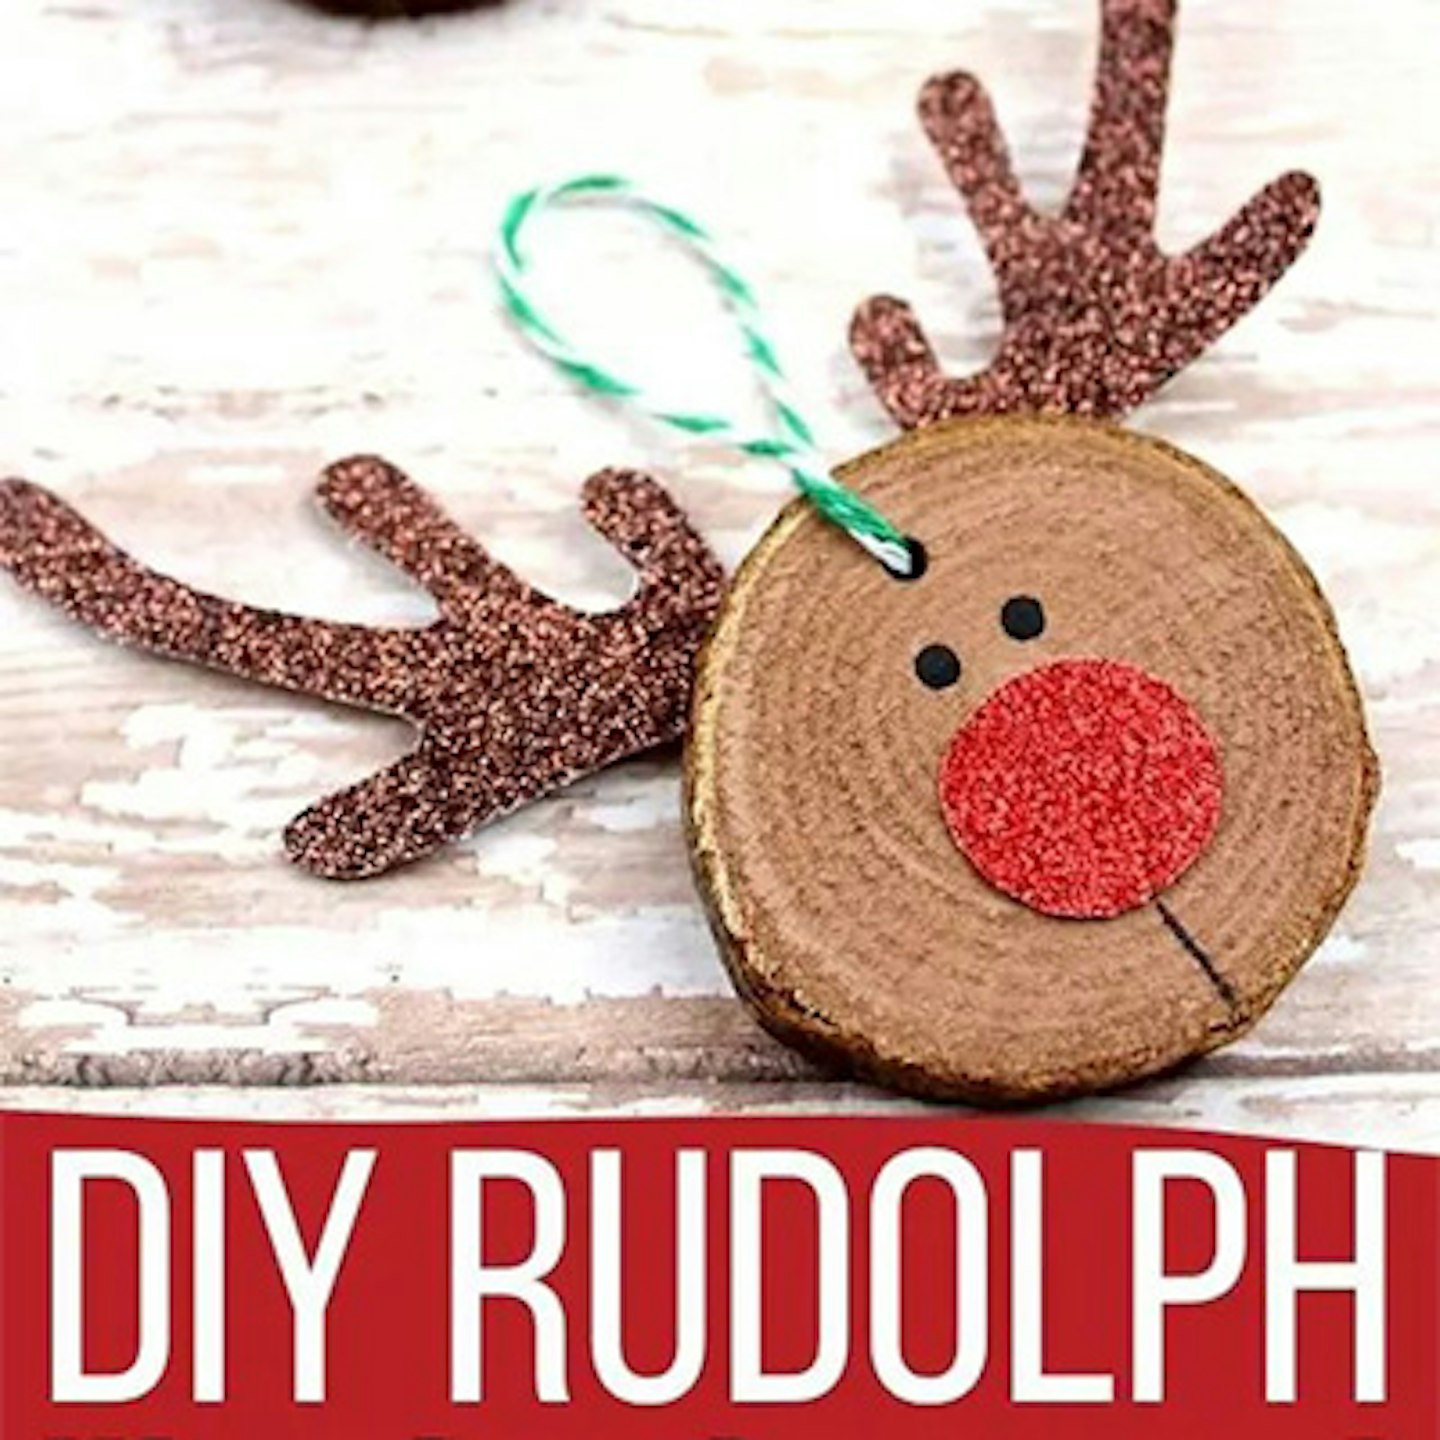
These are a really fun craft for toddlers to have a go at and should stand the test of time in your Christmas decorations box.
What you'll need:
Wood Slices Ornaments
Glitter Foam
Baker’s Twine, optional
Scissors
Glue
Paint pens, optional
How to make:
Trace the shape of a reindeer antler to the back of the brown glitter foam. Cut out the antler and use it to trace a second antler.
Glue the antlers to the back of the ornament, about a finger width apart.
Cut out a circle of the red glitter foam and attach to the front of the ornament, in the centre.
Use your paint pens to draw on two reindeer eyes.
Allow paint to dry before restringing the ornament and hanging.
How to make a pom pom Christmas tree
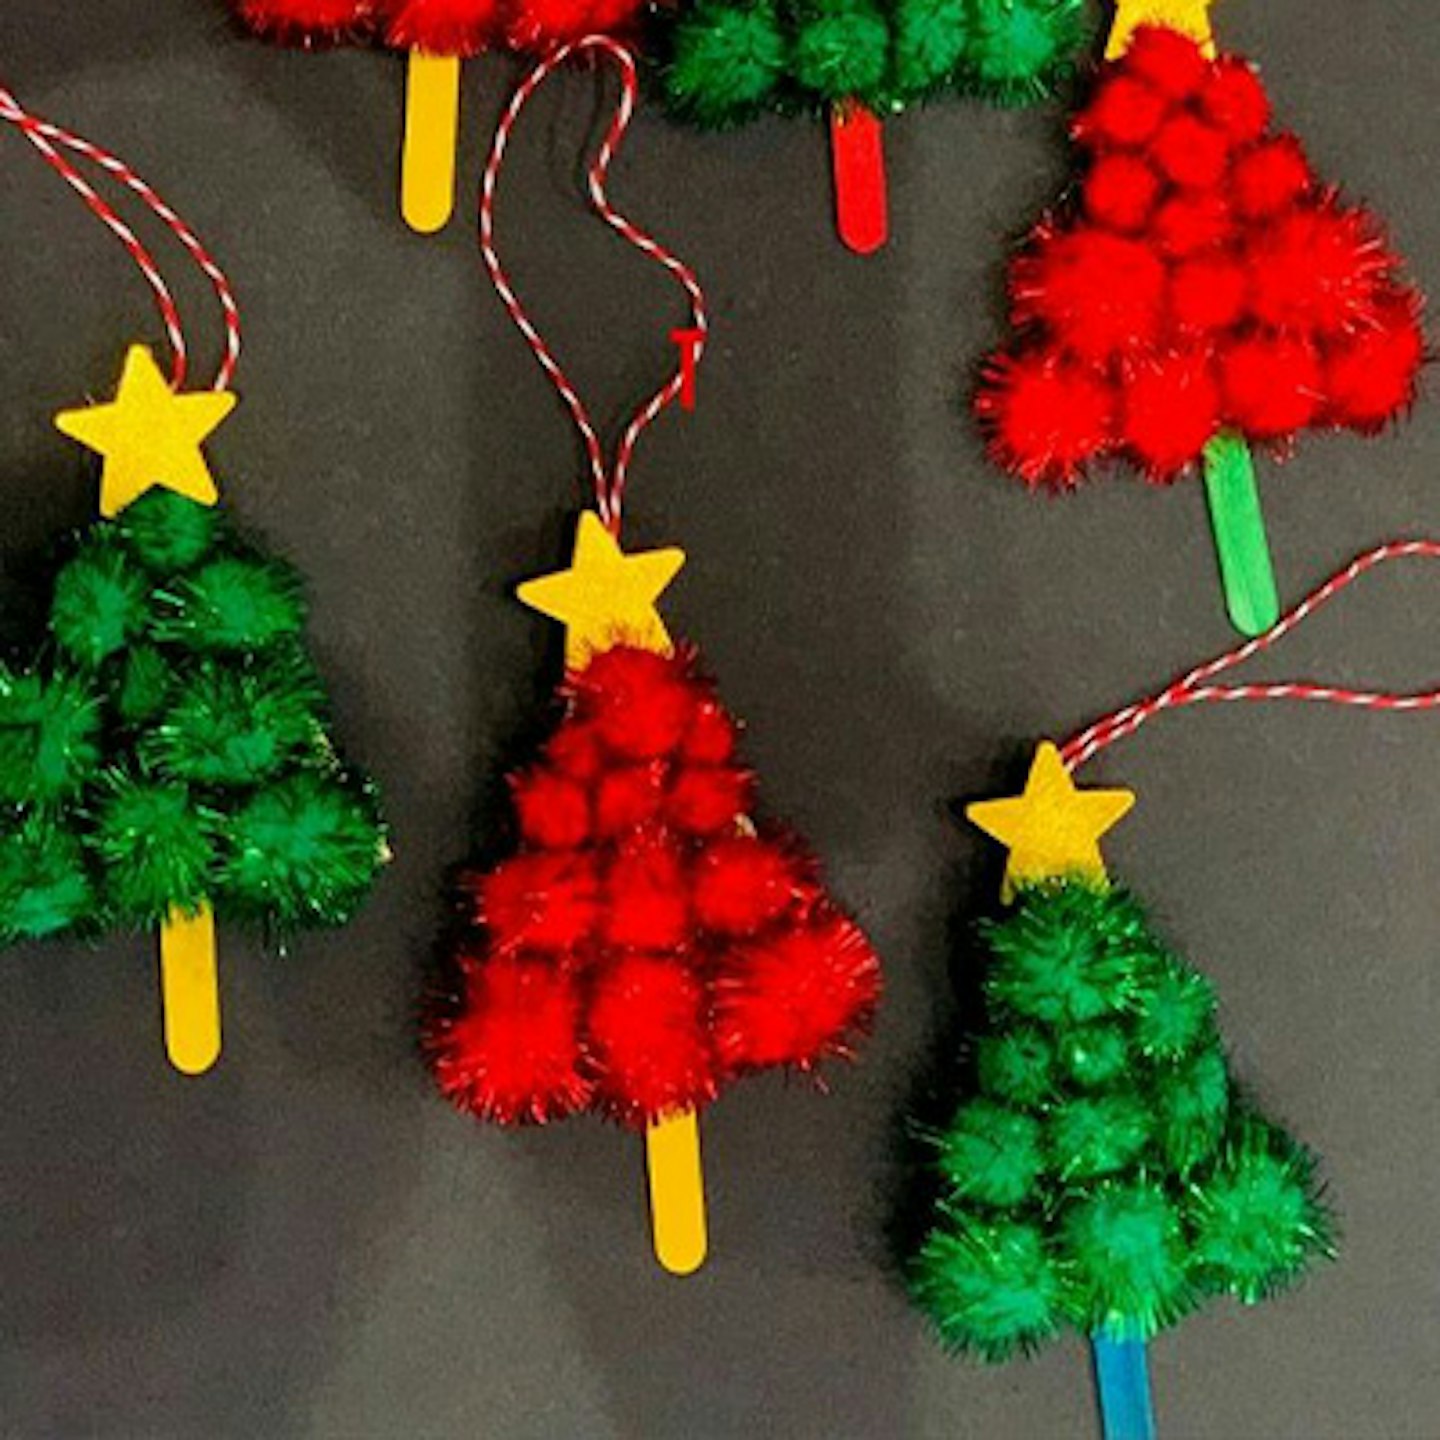
These lovely glittery pom pom trees are nice and easy to make for your little one. They make a lovely finishing touch to any tree and can be made in a huge variety of colours.
What you'll need:
Popsicle sticks
Glitter Pom poms ( if you like sparkly shiny stuff)
Star shape sticker
Piece of cardboard
Some string and Hot glue
How to make:
Cut a triangle piece out from cardboard and stick it on a popsicle stick.
Cover the triangle paper with pom-poms. you can hot glue the pom-poms directly in the shape of a triangular tree.
Glue the star on the top of the tree. Or you can cut out a star shape from cardboard and colour it with golden paint.
Lastly, attach a ribbon on the back to hang the ornament.
Shop the best craft supplies for your homemade Christmas crafts
1.
Pinecones
 Image: Amazon
 Image: Amazon
 Image: Amazon
 Image: Amazon
 Image: Amazon
6.
Glue gun
 Image: Amazon
 Image: Amazon
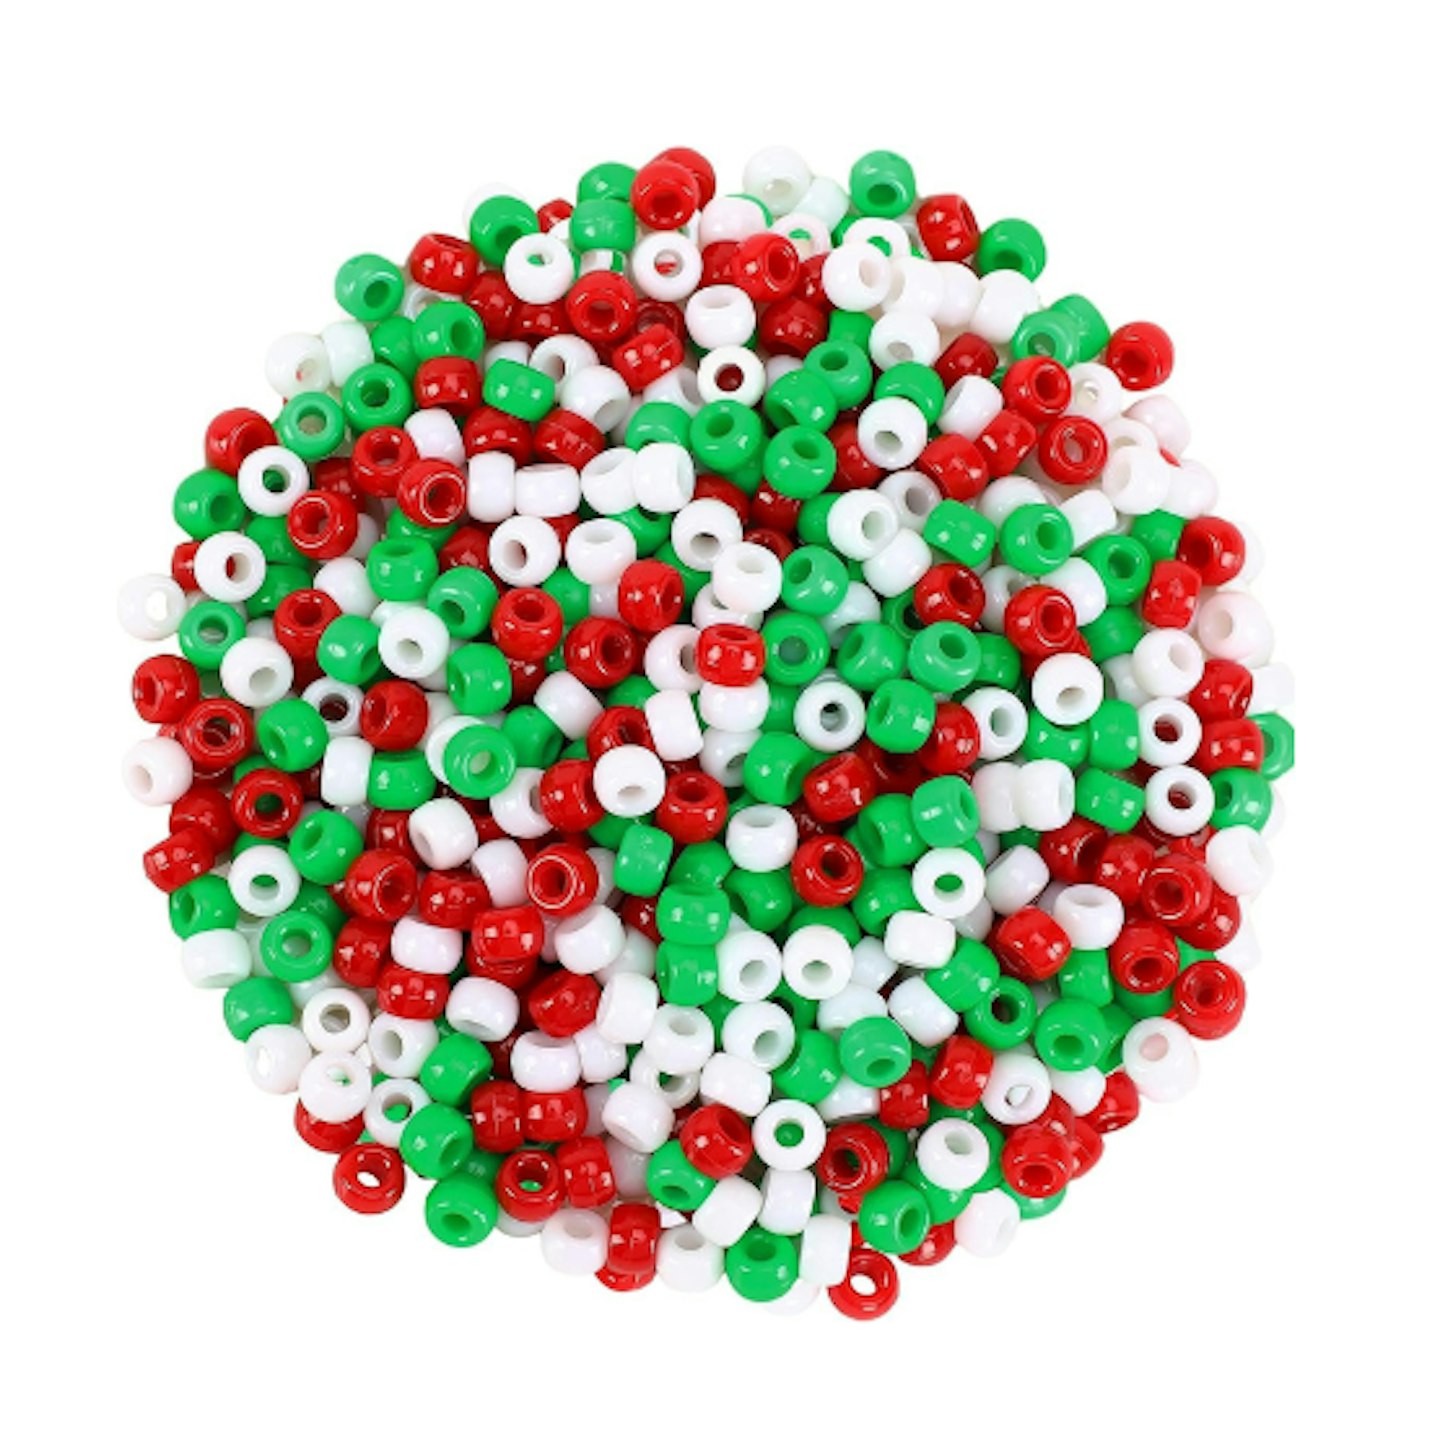 Image: Amazon
9.
Googly eyes
 Image: Amazon
 Image: Amazon
11.
Christmas straws
 Image: Amazon
 Image: Amazon
13.
Craft logs
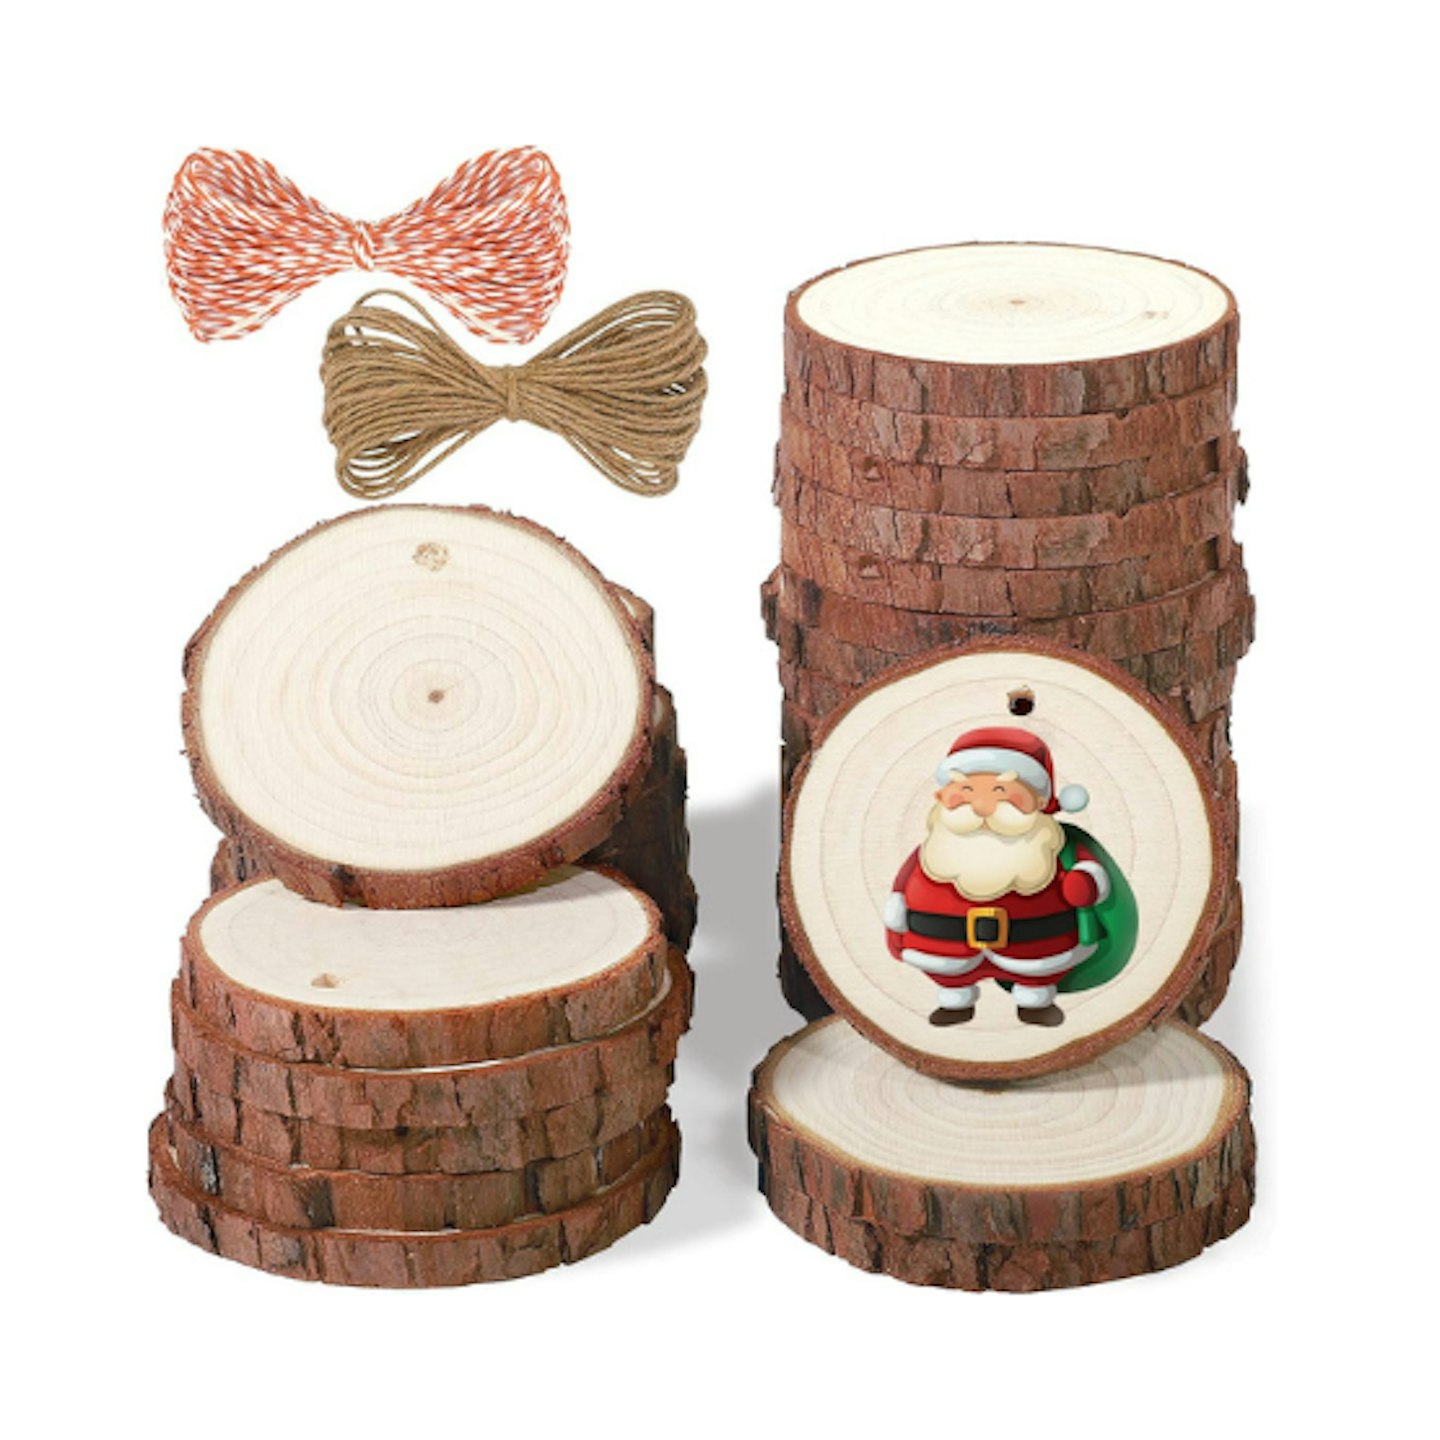 Image: Amazon
 Image: Amazon
FAQ: How to make christmas decorations
Is it cheaper to make your own Christmas decorations?
It can definitely be cheaper to make your own Christmas decorations. craft supplies can be bought in bulk for starters, or you may be able to find materials in your home recycling that you can use with a little bit of creativity and imagination - not to mention glue!
Is it easy to make Christmas decorations?
DIY Christmas crafts and homemade Christmas decorations can be as simple or detailed as you want them to be. There are loads of ideas in this article that are easy to make with toddlers and many more online. All you need is a good tutorial or instructions, the right materials and supplies for the project, enough time and patience, and you can easily create some beautiful ornaments to hang on your tree or around your house.
How to make your own Christmas tree decorations
Your imagination is your only limit when it comes to making your own Christmas tree ornaments. All you need is some string, paper ribbon, or evebn pipe cleaners to attach your homemade creations to the tree branches. Alternatively, you can make your own paper chain garlands to position in your tree or around your living room.
_Lorna White is the Products Editor for Mother&Baby. After running the Yours magazine website, specialising in content about caring for kids and grandchildren, Lorna brought her expertise to Mother&Baby in 2020. She has a keen interest in a range of topics surrounding all things motherhood and has a wide range of experienced medical experts and professionals at her fingertips.
_